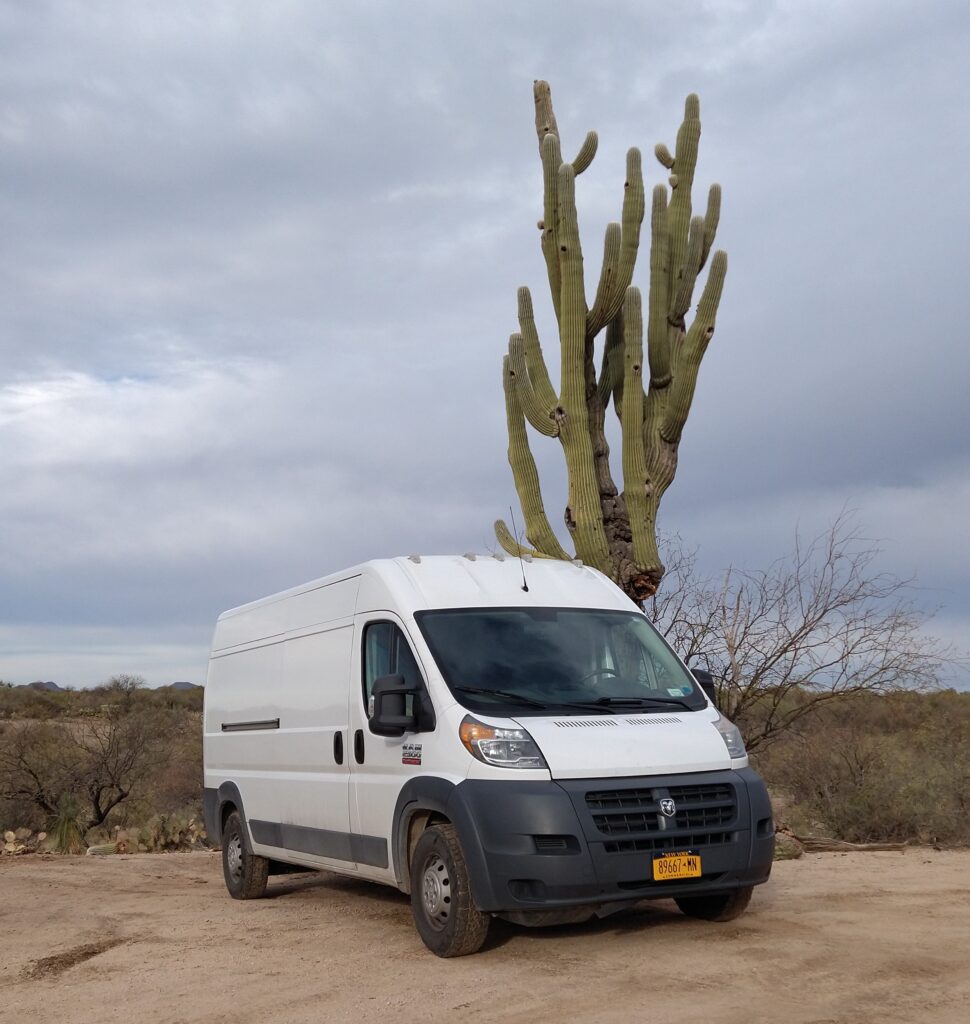
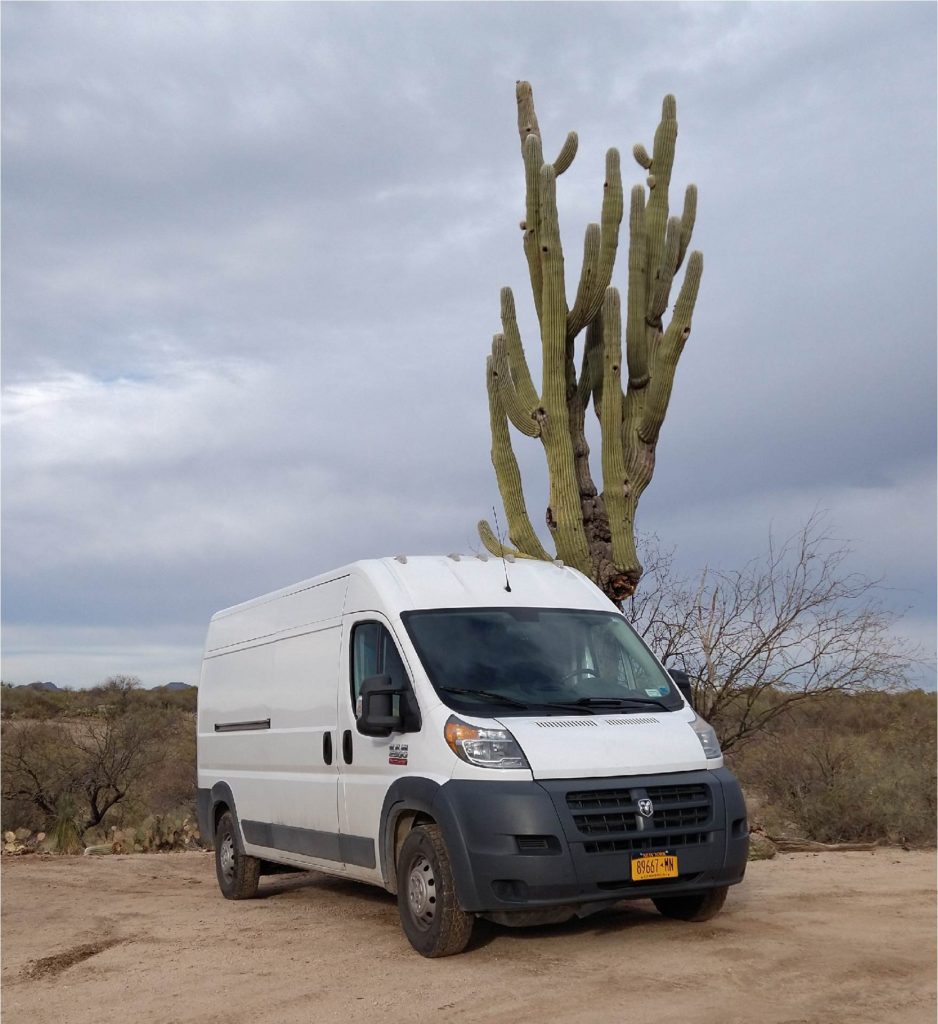
It’s almost November, and as I’ve done for the past fifteen years, I’ll be packing my van and begin my winter wanderings soon. Like always, my route will be throughout the various southwestern states, staying warm in the sunshine and enjoying the incredible beauty of the land. The difference is that….I’m already there!
In late April, instead of going back to my cabin in the woods of New York, I headed south and purchased land in Tres Piedras, New Mexico, a small unincorporated town about thirty miles northeast of Taos. Not so many years ago(okay, more like one hundred years ago), Tres Piedras was an important stop on the Chili Line Railroad, but now about all that’s left is the water tank and a few old timers that still remember when the town back in the day, or had ancestors that told them how it was. For my purposes, there is a decent internet signal and a post office, so that’s okay by me. I head into Taos once or twice a week for supplies and “peopling.”
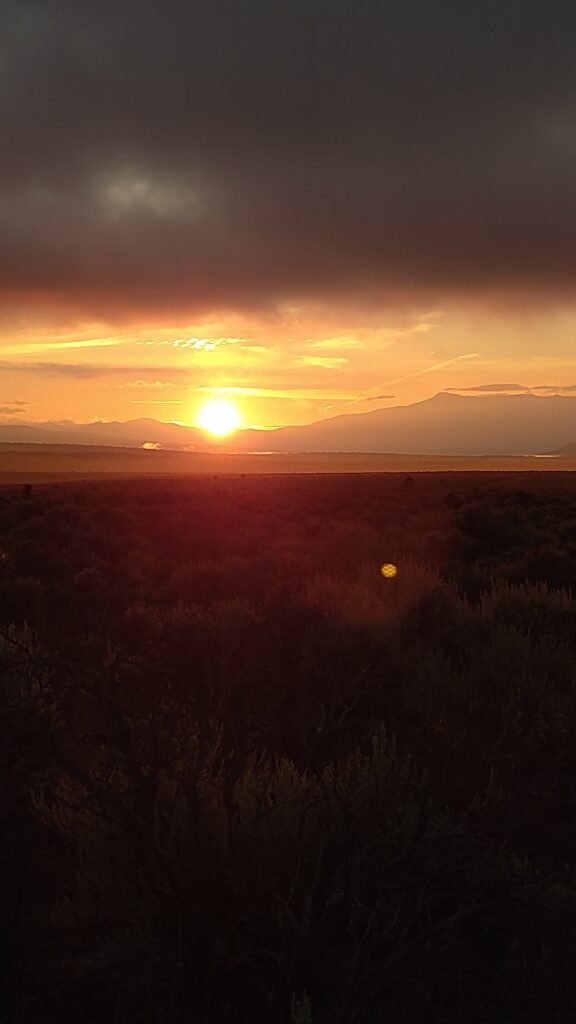
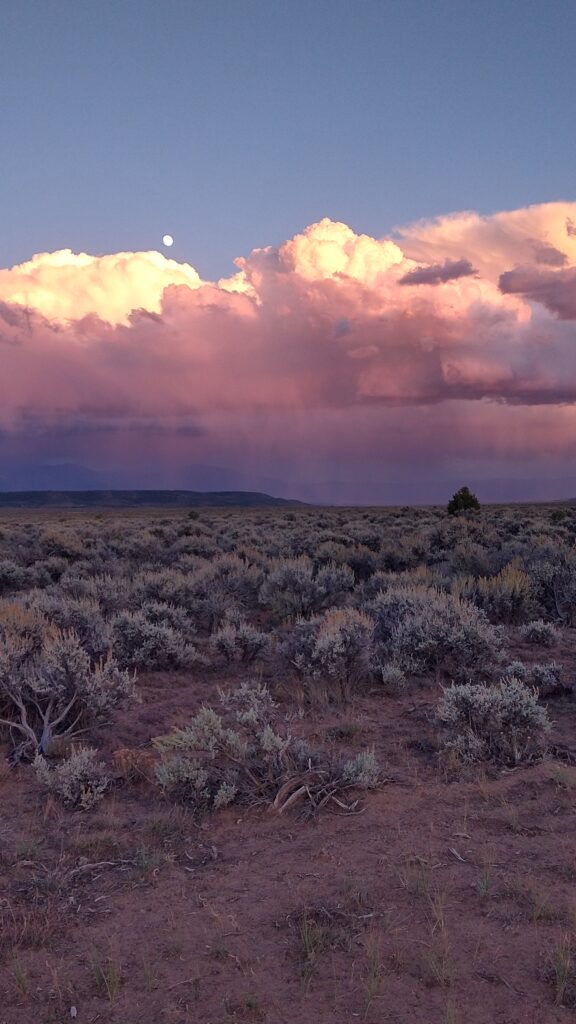
My lot has a clear view east to the Sangres de Cristo Mountains, with no visible structures in the way to obstruct its beauty. Sunsets can be pretty spectacular.
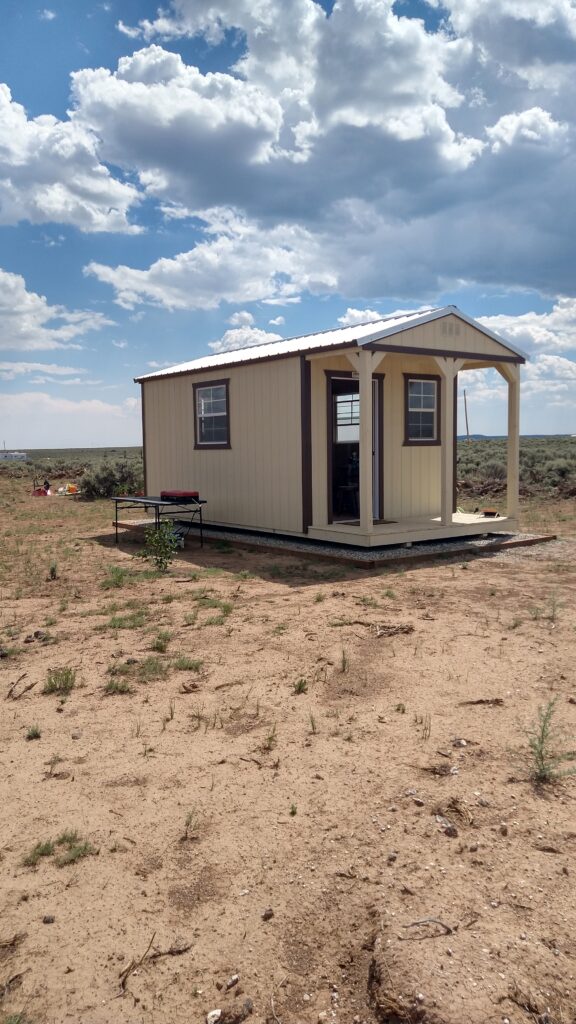
Here’s my little workshop, a pre-built shed that does the trick. I customized just a bit, to have larger and more secure windows on all four sides, and a back door to make things easier.
I have a dream – to build an authentic adobe for my home. With two acres, I have the room. Money to do it is a different story, but I guess we’ll just have to see what the future brings.
Did I mention the famous New Mexico clouds? They’re incredible, and to be honest, I just had no idea how good they can be. Who needs a television when you can watch the cloudscape for hours!
And when it rains, there’s almost always a rainbow. Usually a double.
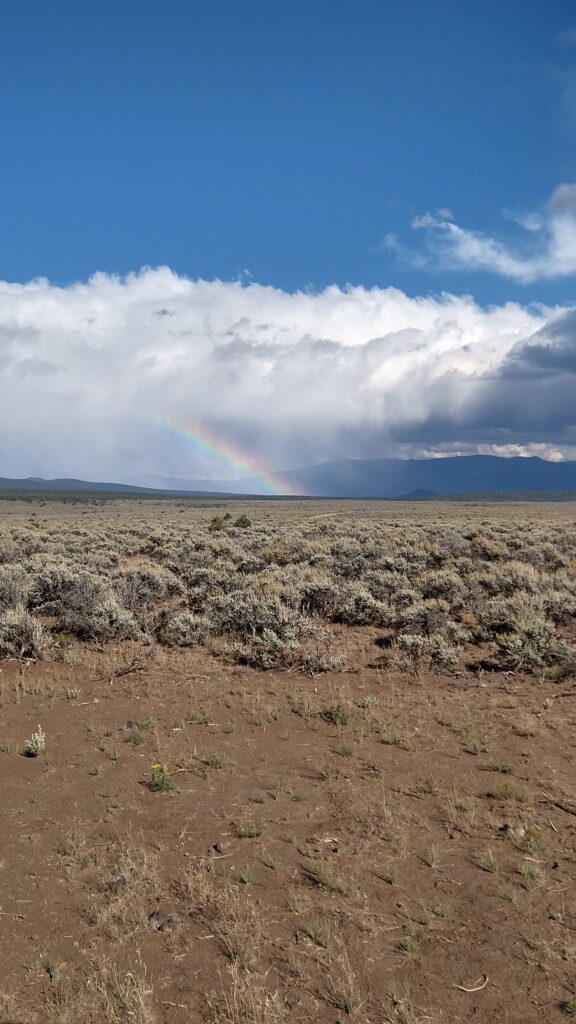
Those are views from my yard – I can prove it! (That’s the back door I mentioned.)

I feel pretty lucky. I wake up feeling joyful, and unbelievably, my blood pressure has gone from dangerously high(with medication) to being consistently within a healthy, normal range. Who could think that a move like the one I made could make such a difference?
One thing I didn’t know about before moving here was….these:

Yes, it’s a tarantula. But it’s not like they’re everywhere, or even around all year. In September & October, the males will migrate, in search of a mate. This one was one of only two I’ve seen on my land this year, which was fine by me.
People told me I’d see them everywhere, and I was imagining exactly that. Because people also had seemed to have placed bets on how long I’d last in such a rugged area(every time I mentioned where I lived, they’d slowly ask “Sooo, how you liking it?”) there was no way I was going to admit(out loud) that the tarantulas just might be too much for me to bear. Luckily, they really were hardly anywhere, though I would see a good number on the road as I drove to the post office or to town. The locals actually call the tarantula migration period “swerving season,” as that is exactly what you will see as you drive the highways. See some car that went off the side of the road during migration and you know they swerved to avoid smooshing a tarantula just a little bit too much.
I tried some plantings, and the bunnies and grasshoppers ate my Hollyhocks. Plus, I didn’t prepare the soil properly. It’s very much a clay soil, which needs amending to improve drainage. Which, I didn’t realize until too late. My Hollyhocks did sprout, but they grew practically in geological time, and after the third sets of leaves – just as I was getting excited – they got nibbled down to nubs. However, they weren’t fully dead, and I’m hoping next spring they’ll be back. I added gypsum to the soil and blanketed them under mulch for winter. How to keep the grasshoppers off them, I need to research.
I also planted three pine trees, and they have been thriving. They were the second round of planting, after the Hollyhocks, Sunflowers, a Lilac bush, and another type of flower that never sprouted.
Besides proper soil work, the key is water. More water than you think, when you think you’ve watered enough. And, since I have no well on my land, I need to haul water. Luckily, we have a community well, only half a mile away. Just like the cabin in New York had the underground spring. Kind of. Nonetheless, when each tree wants more than two gallons a day, in summer, that’s a lot of water hauling. Especially when you have only five gallon jugs and no trailer.
Still, I persevered, and a garden expert told me I had done a great job at establishing the pines. Now, with my leaving for winter, I have asked my neighbors if they can water for me during the dormant season. They will still need water, but only every three weeks or so. My neighbors are really great, and I appreciate their help.
My lilac has gotten buds, so as long as it survives the winter(needs watering!) I’ll see new growth next spring. I watered as instructed, but damned if I could tell if it was too much, or not enough. Now I’m pretty sure that I could have given it twice the amount. Or, maybe it was the damned grasshoppers munching away at the leaves. Probably both….
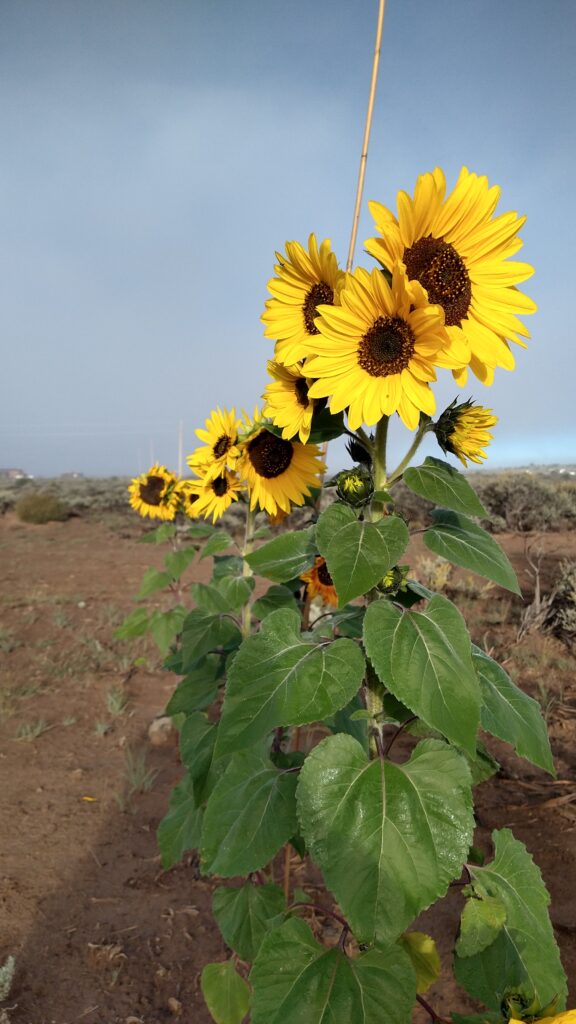
My sunfloweres did okay. They only grew to about three to four feet, but they flowered! Next year, I’ll properly prepare the soil, plus start them indoors a few weeks earlier.
I also planted three tomato plants in containers. I did get some small tomatoes, but I didn’t know I needed to feed the plants, so…next year I’ll…. hahaha
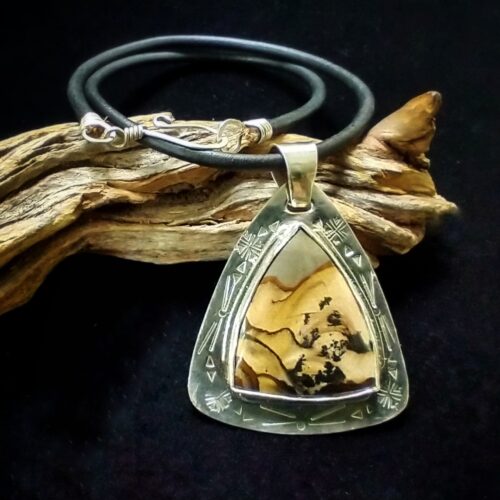
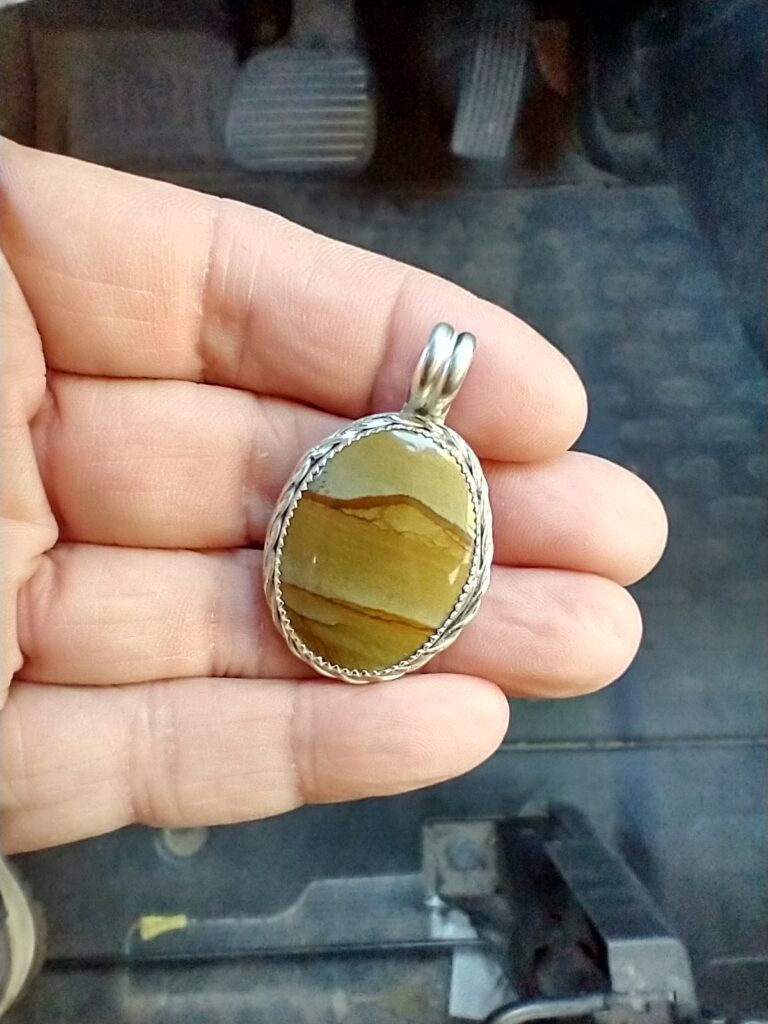
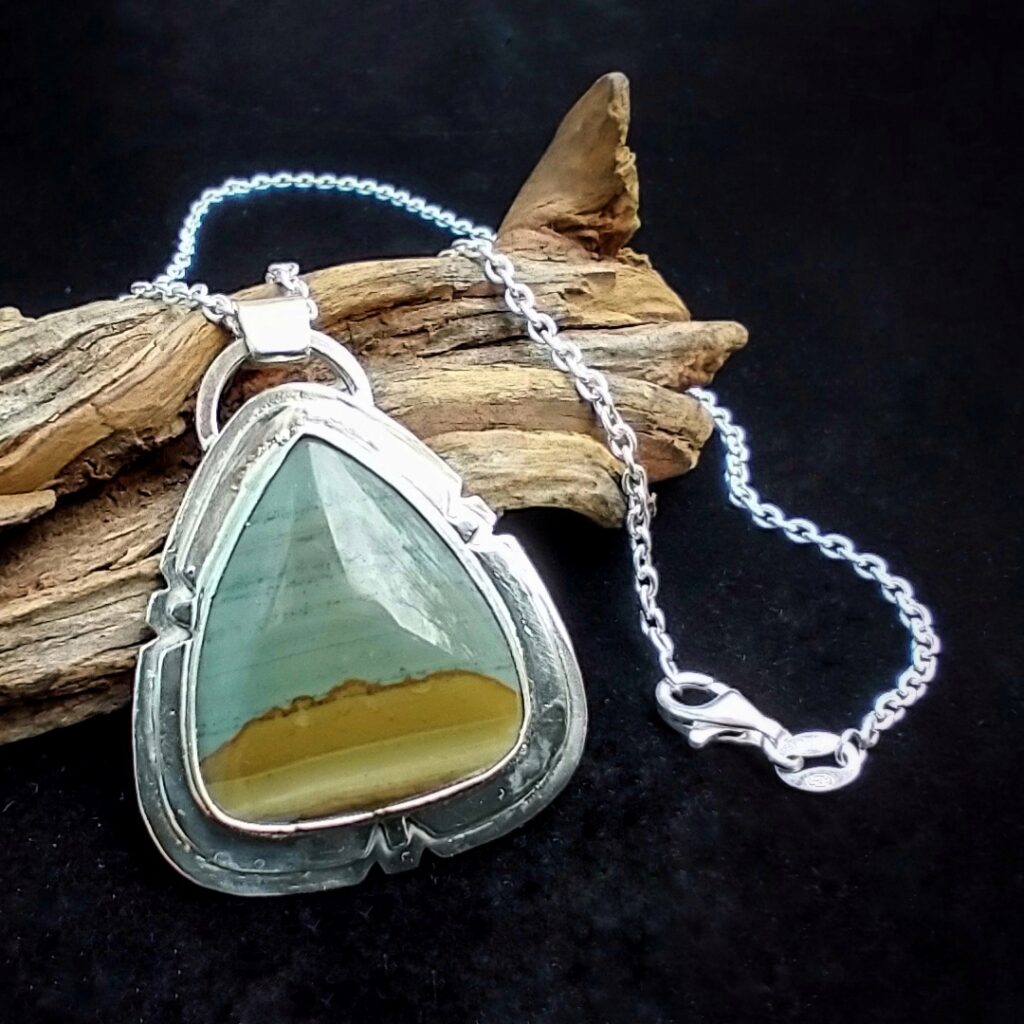
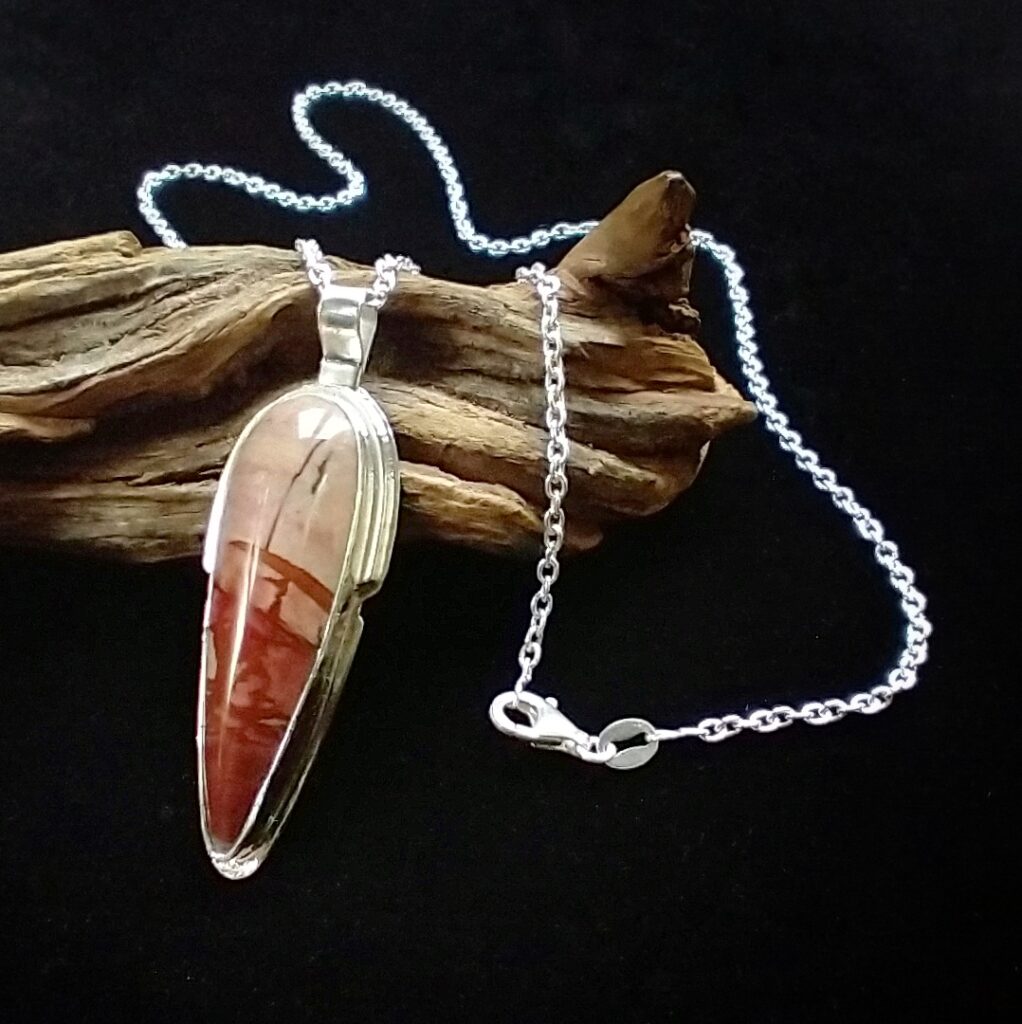
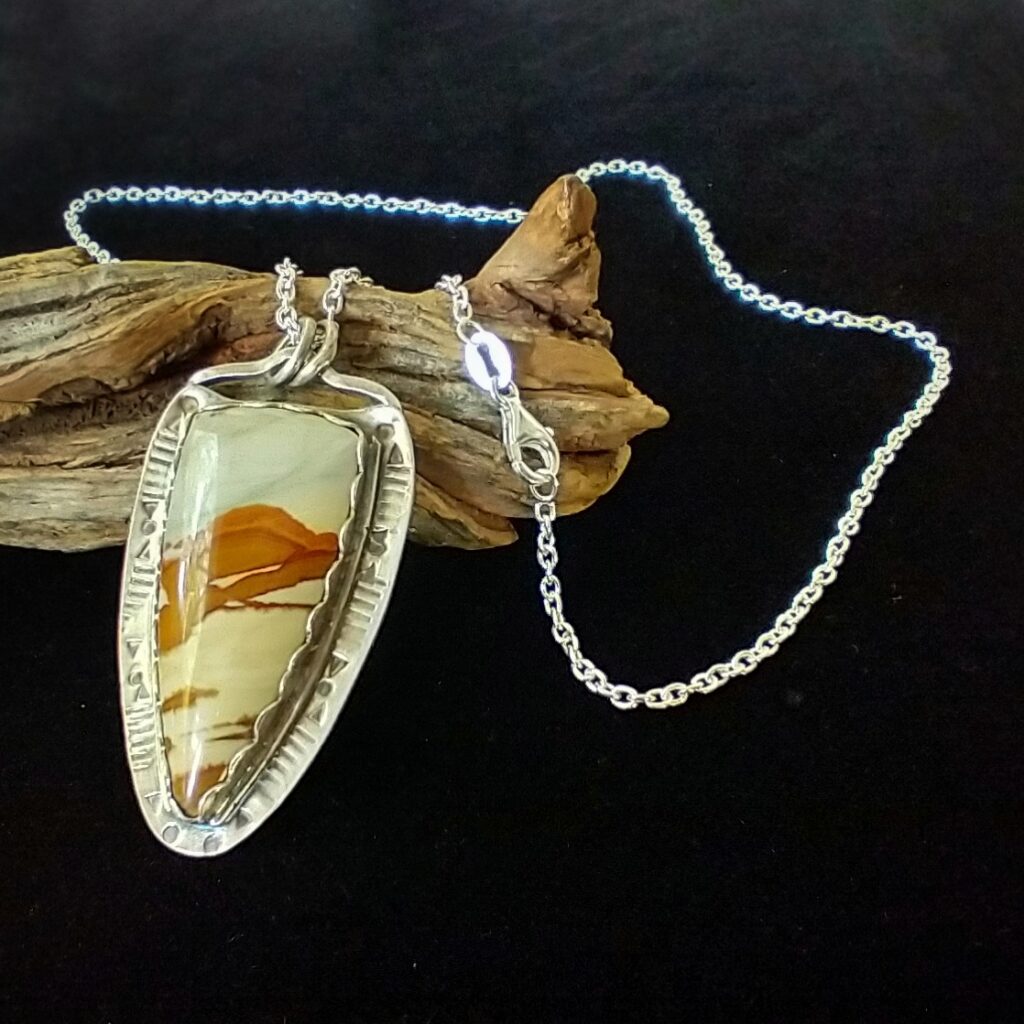
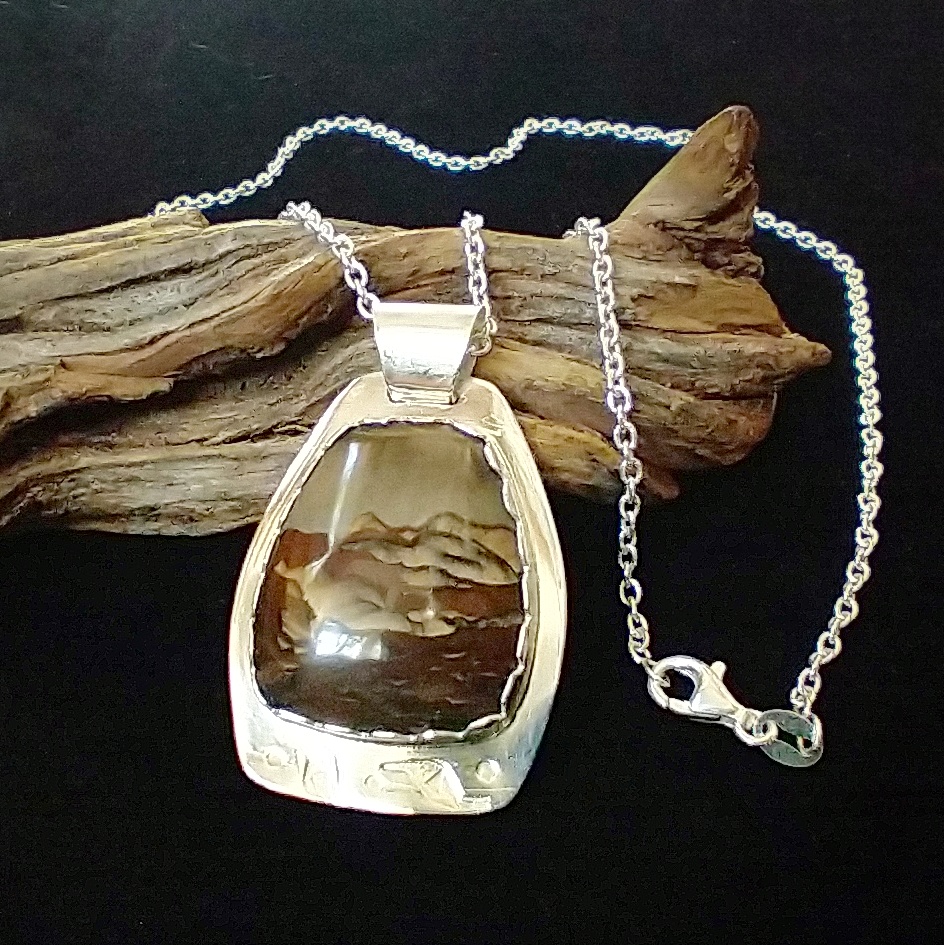
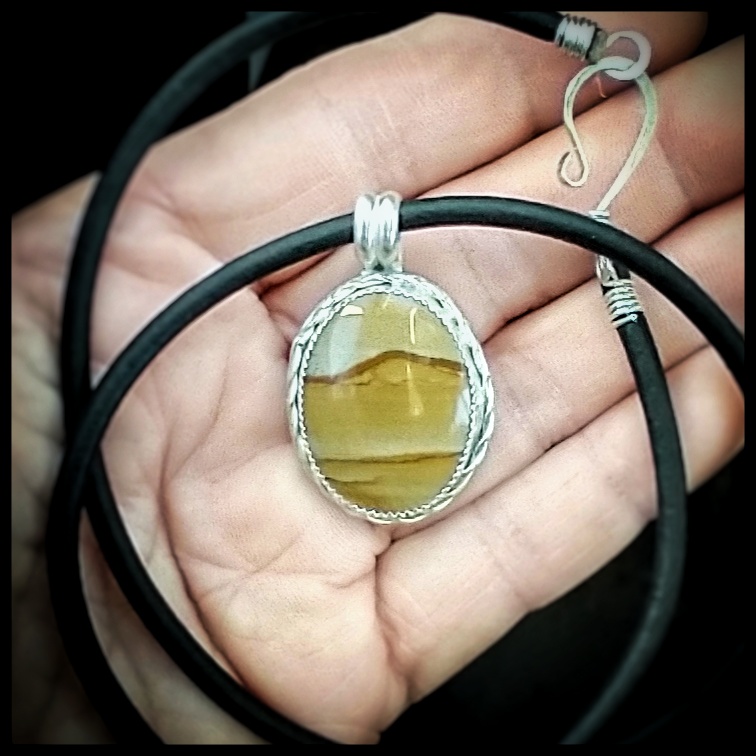
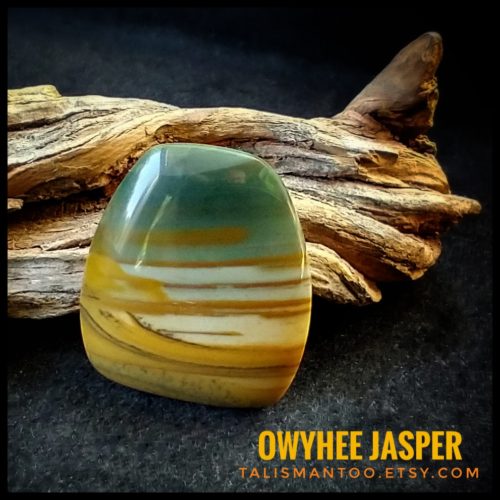
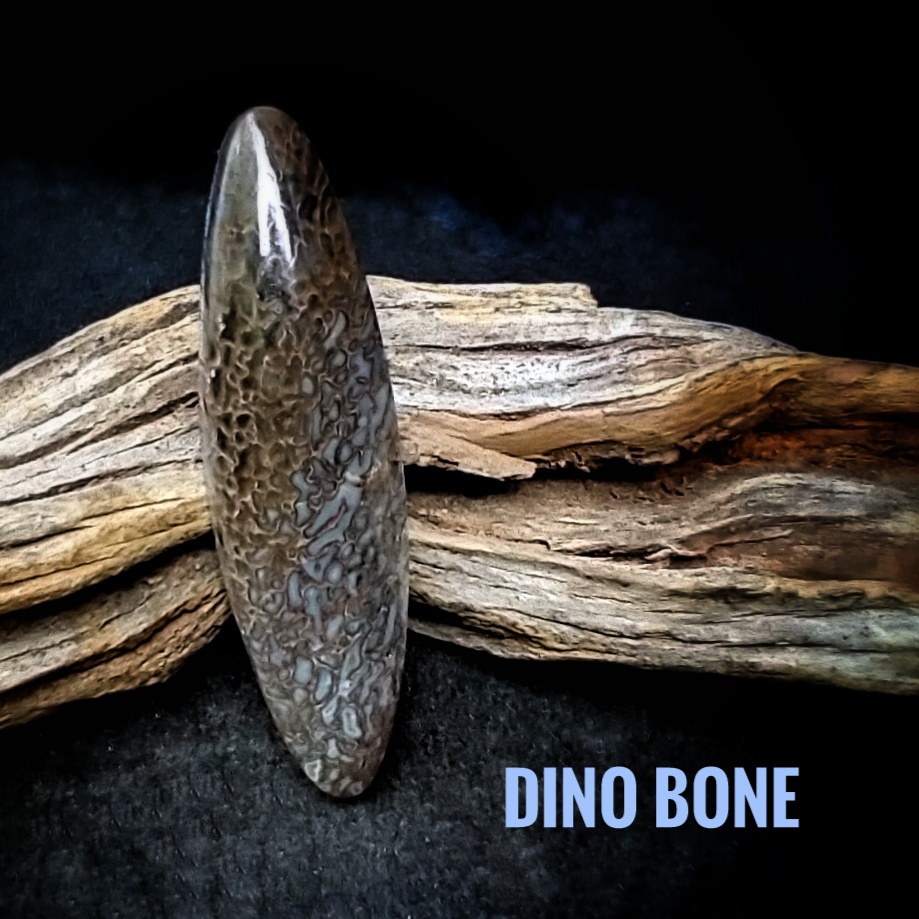
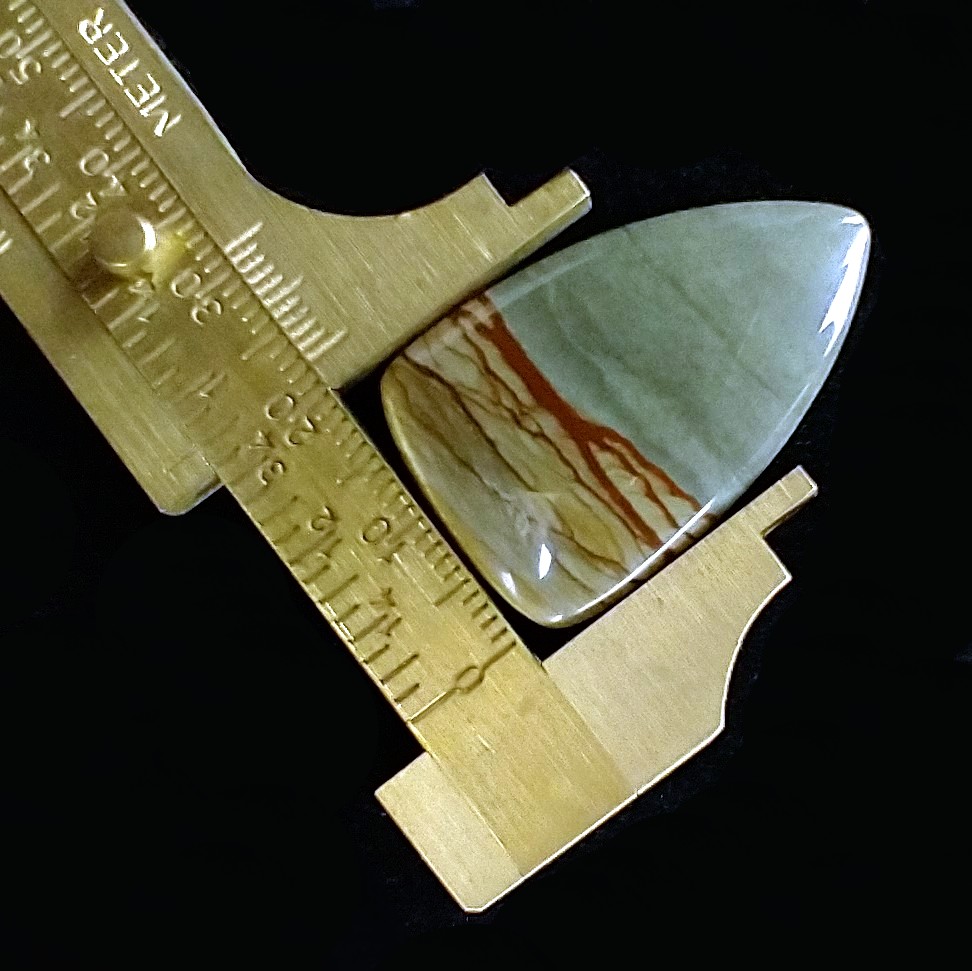
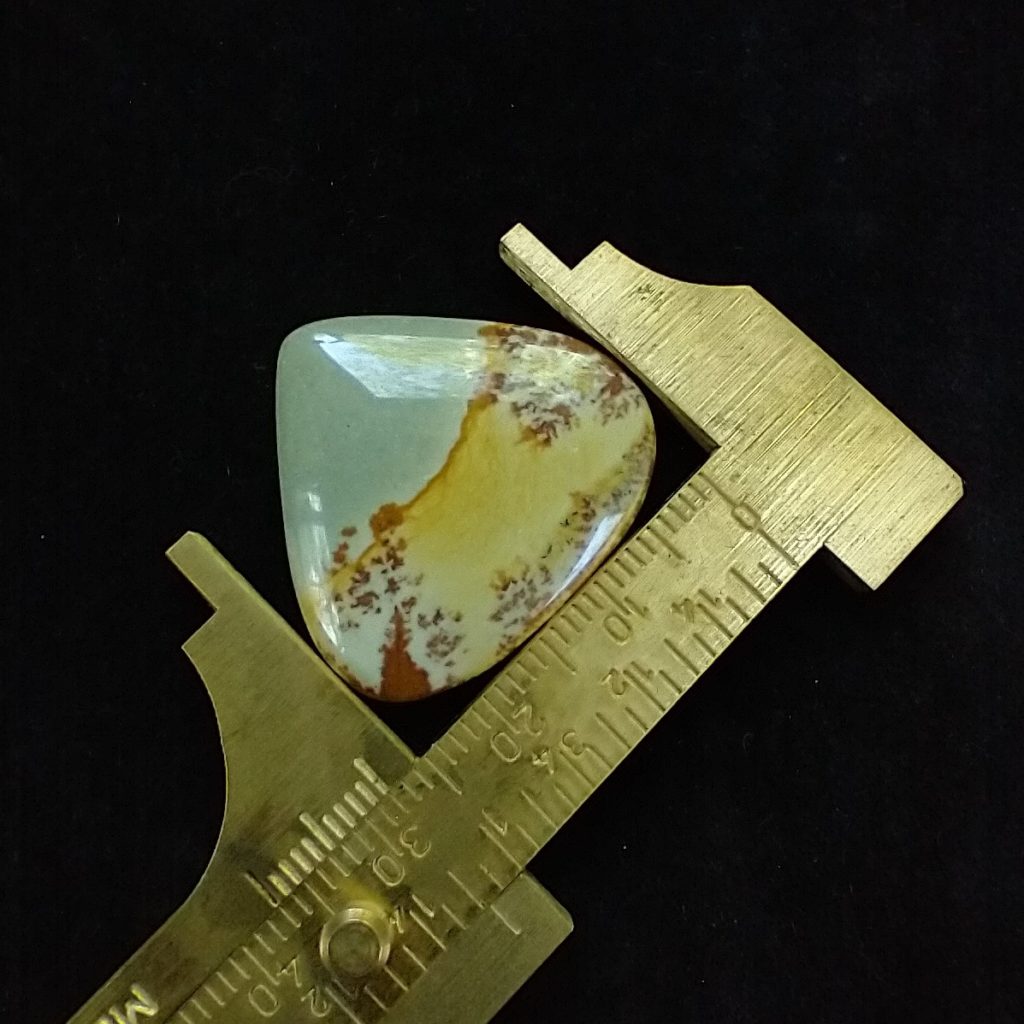
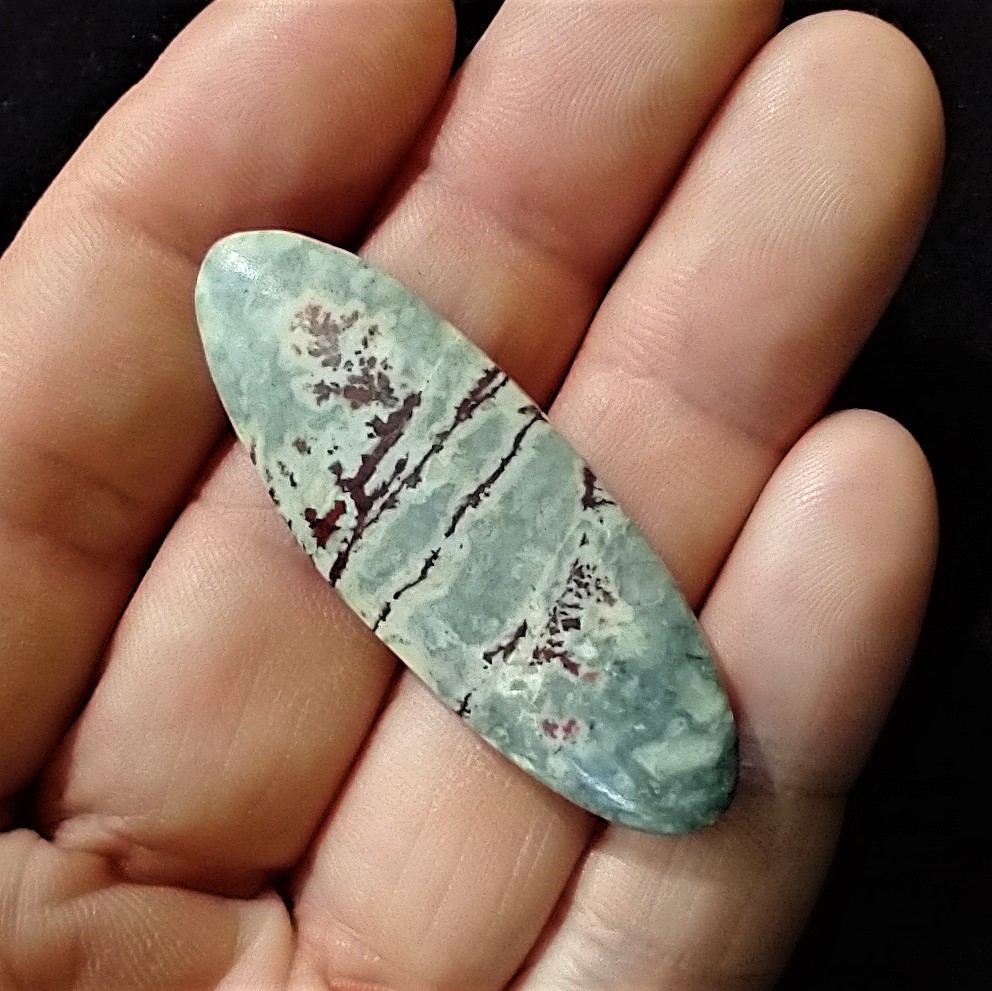
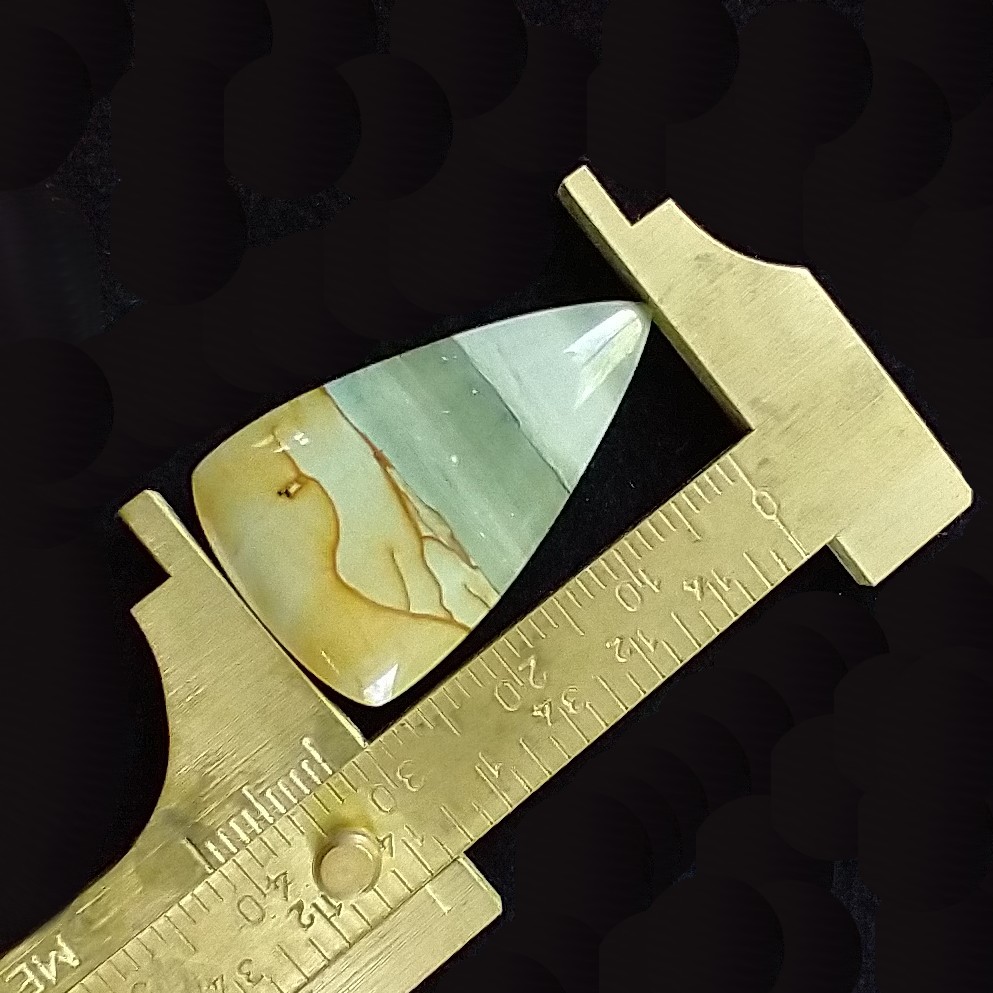
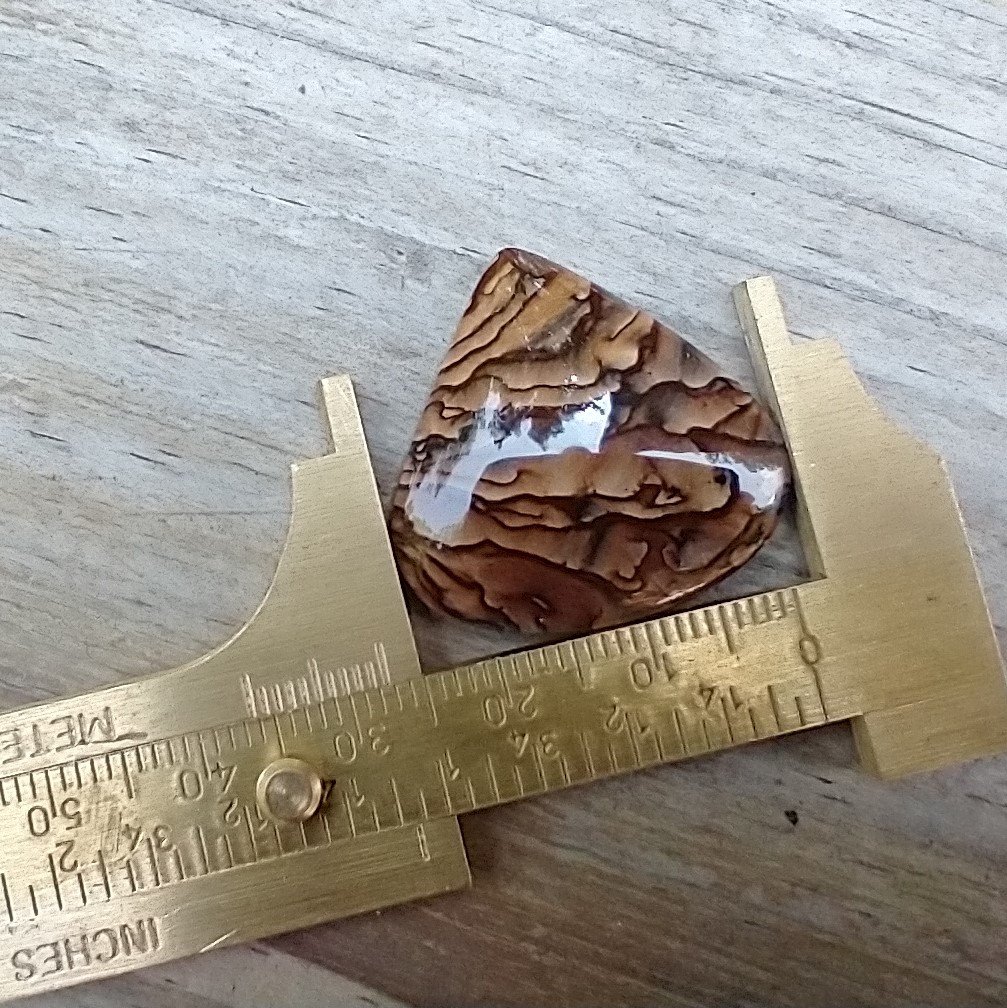
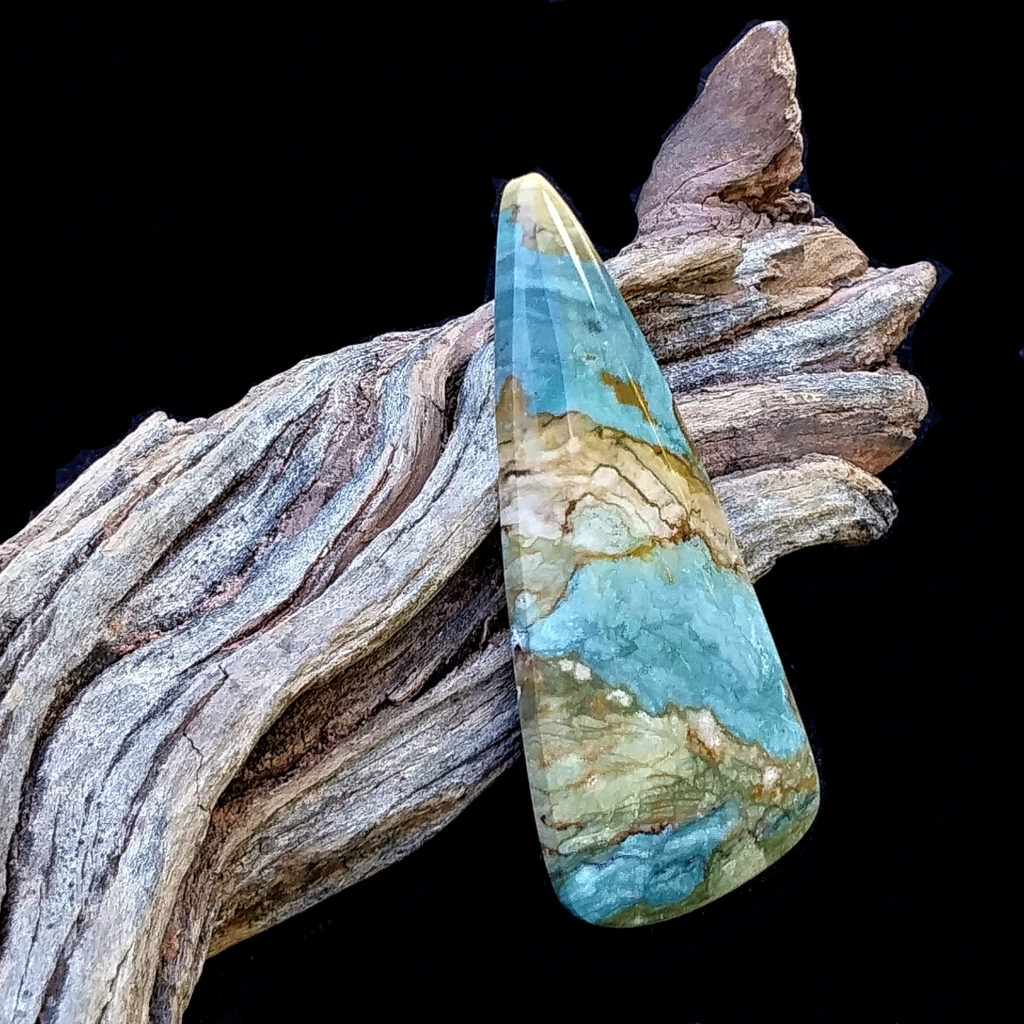
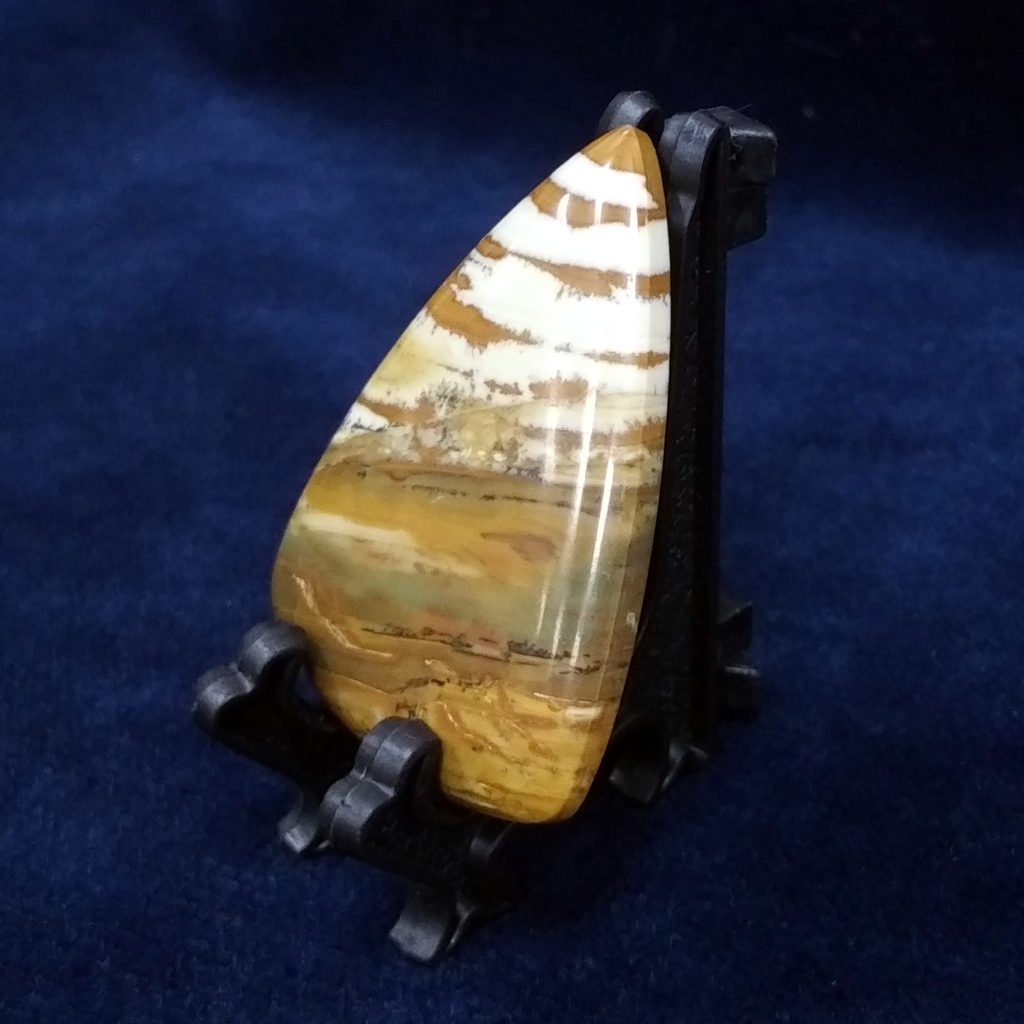
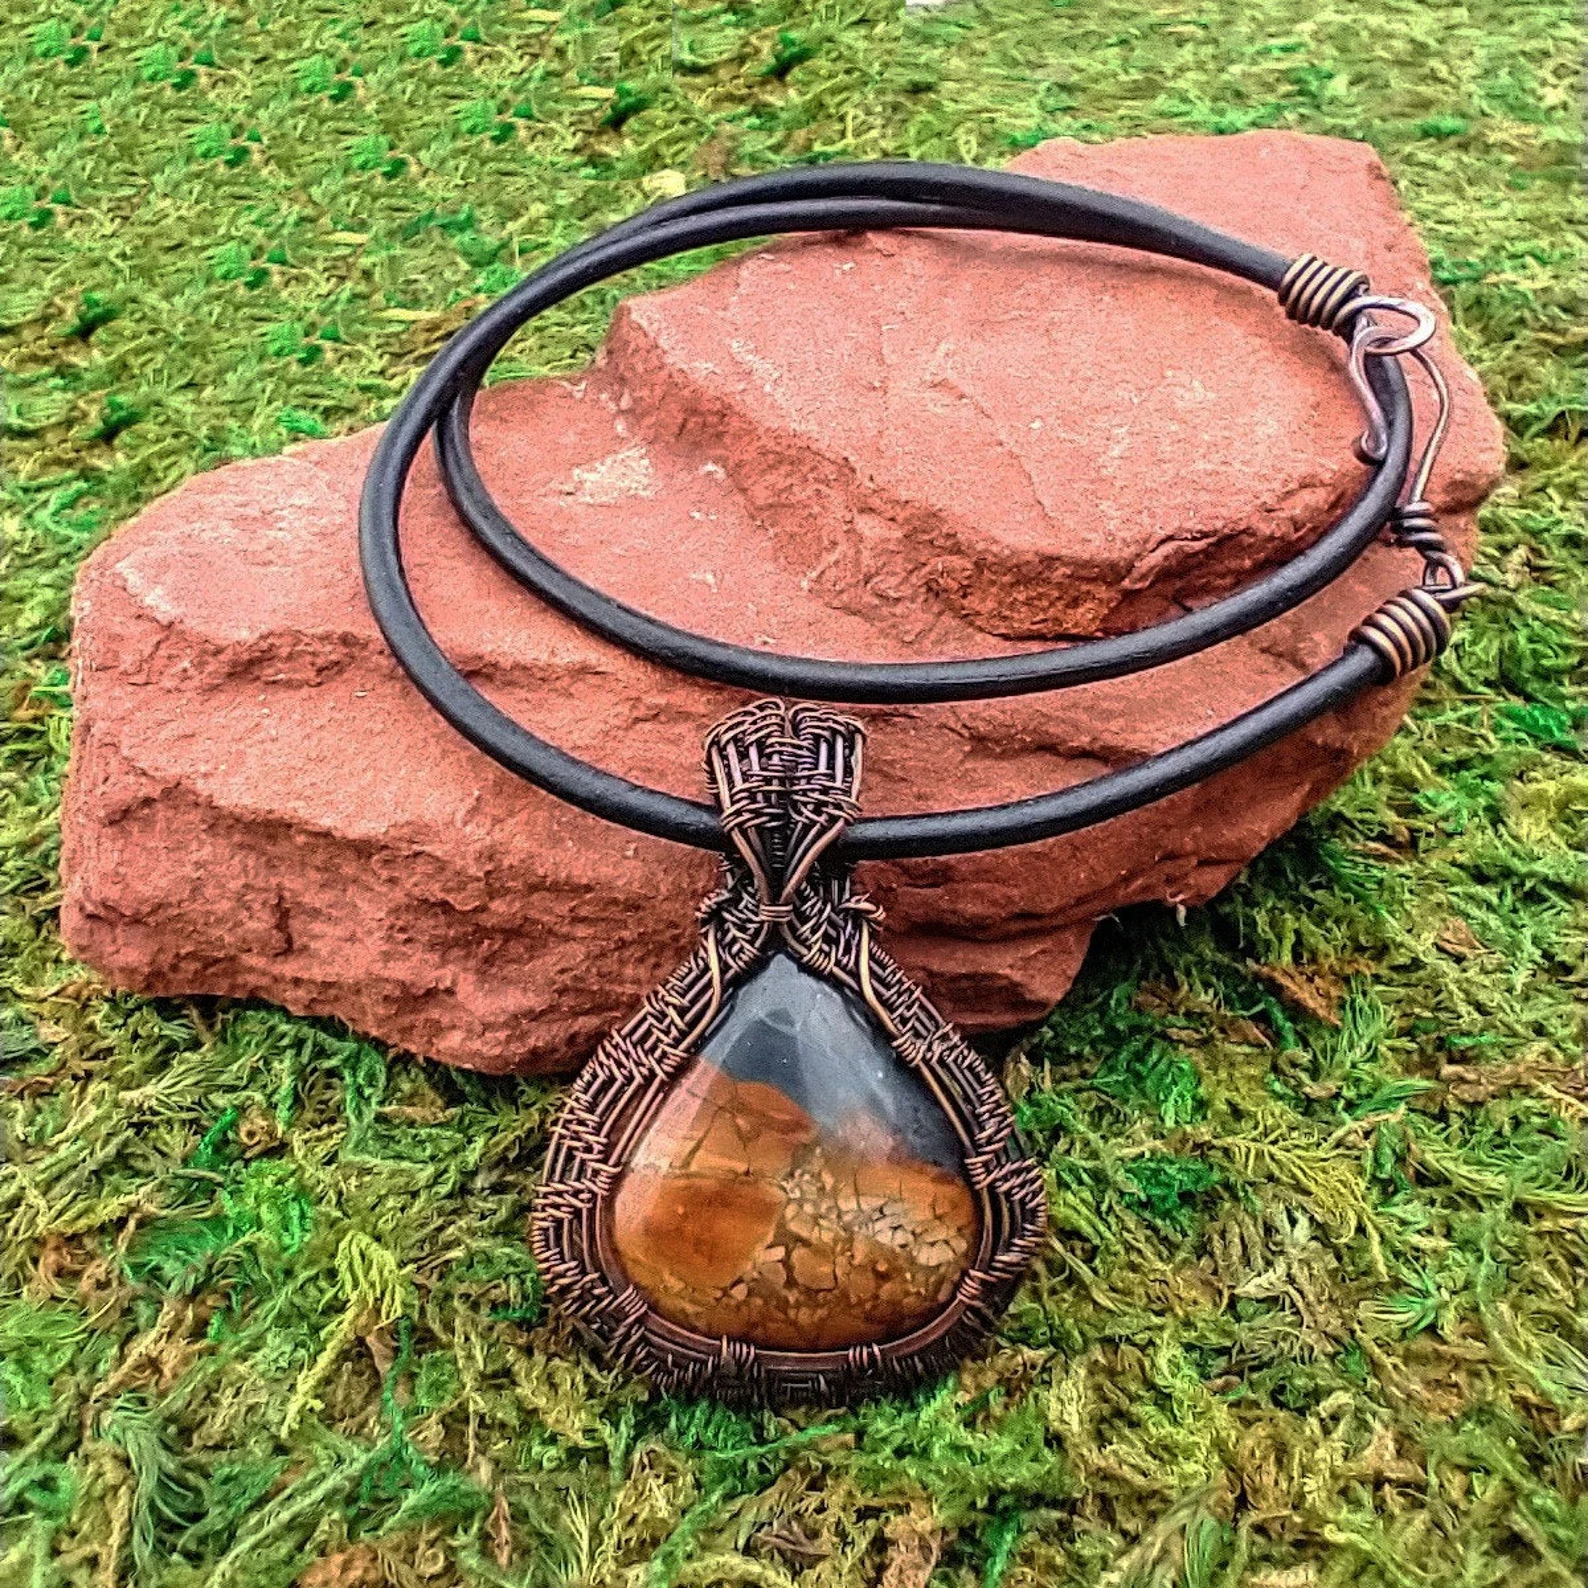
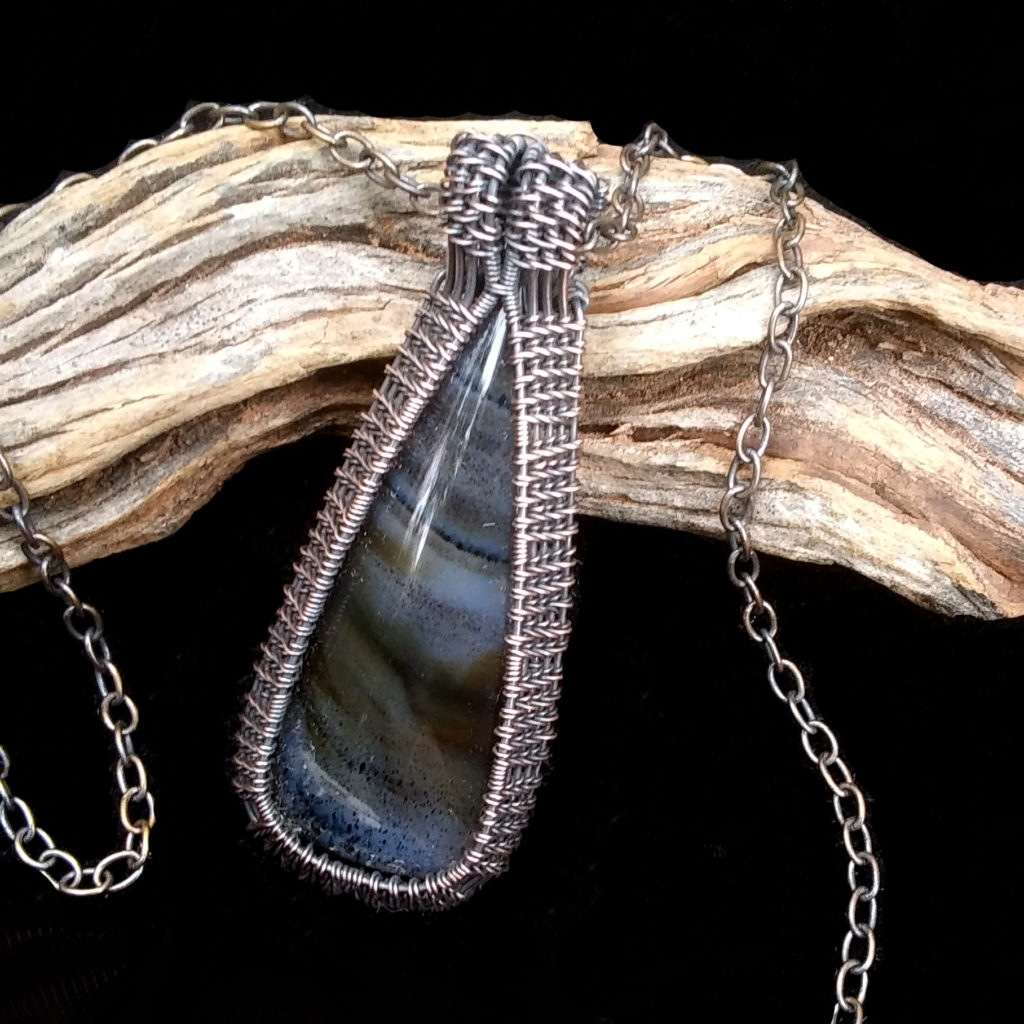
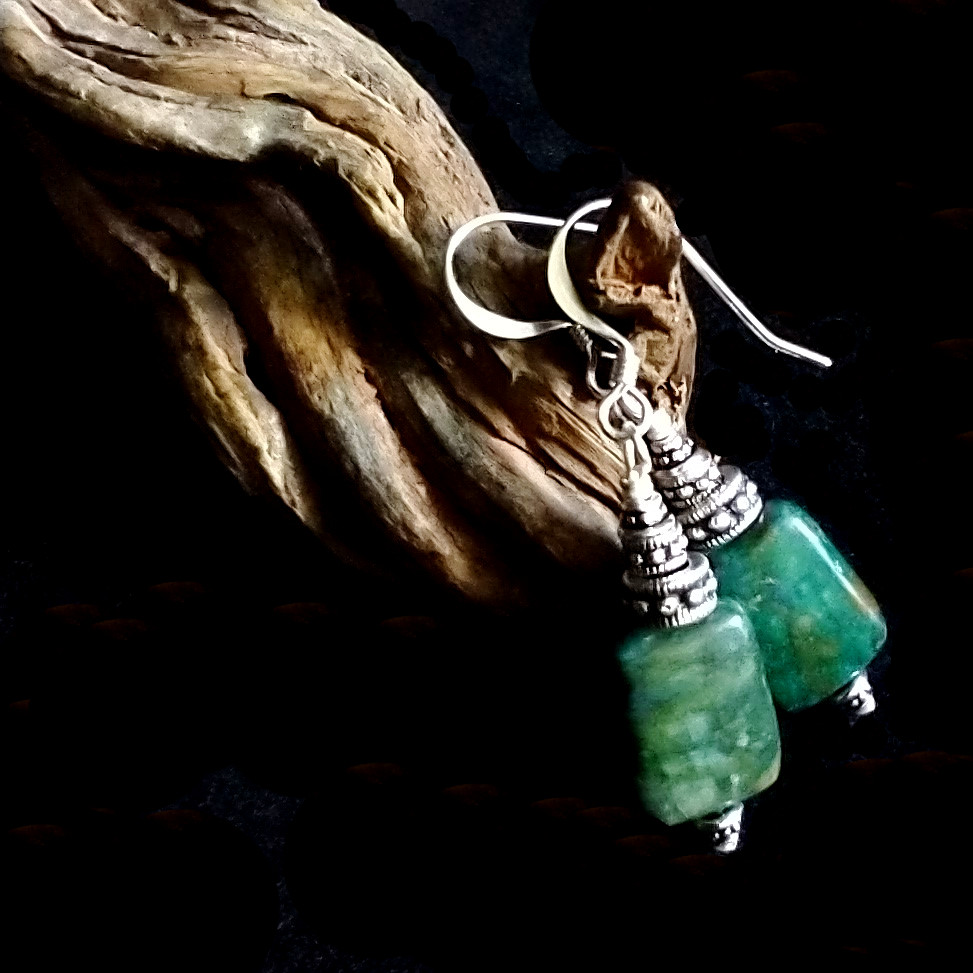
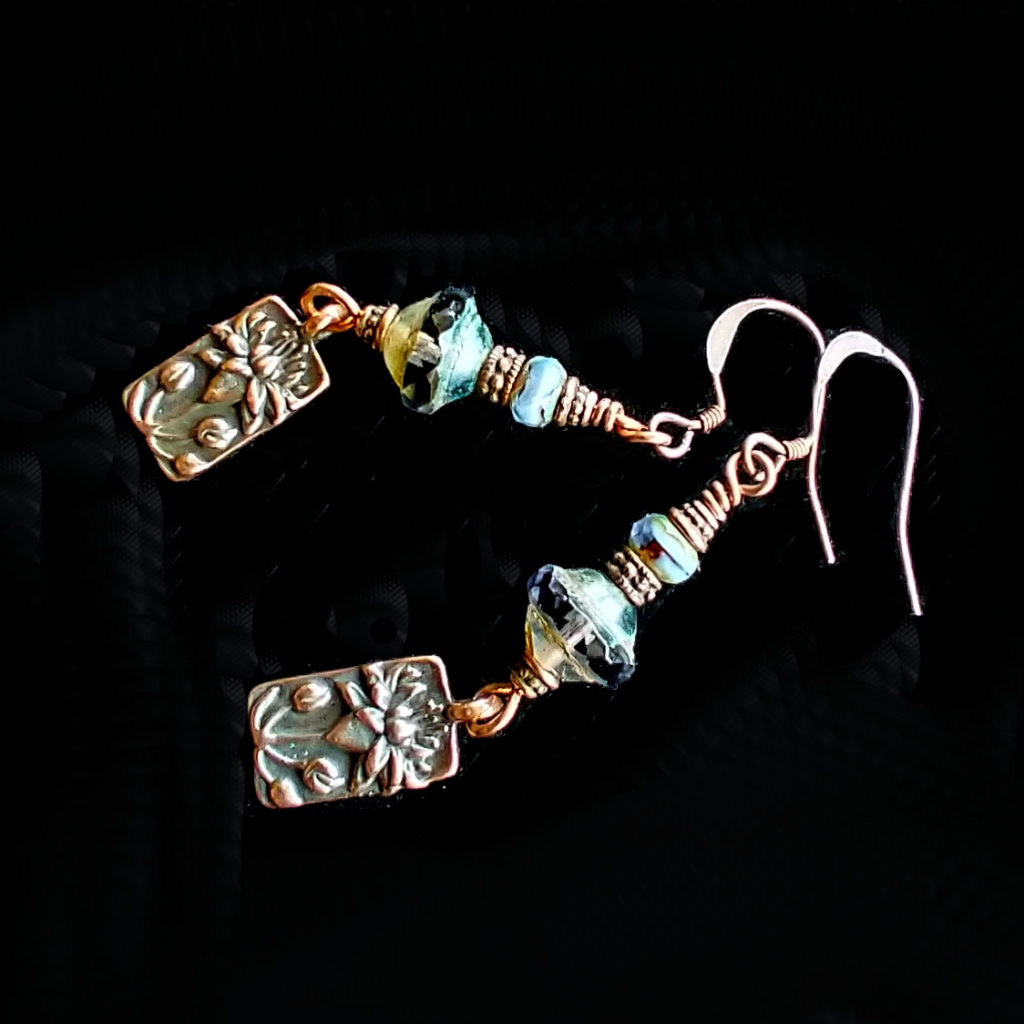
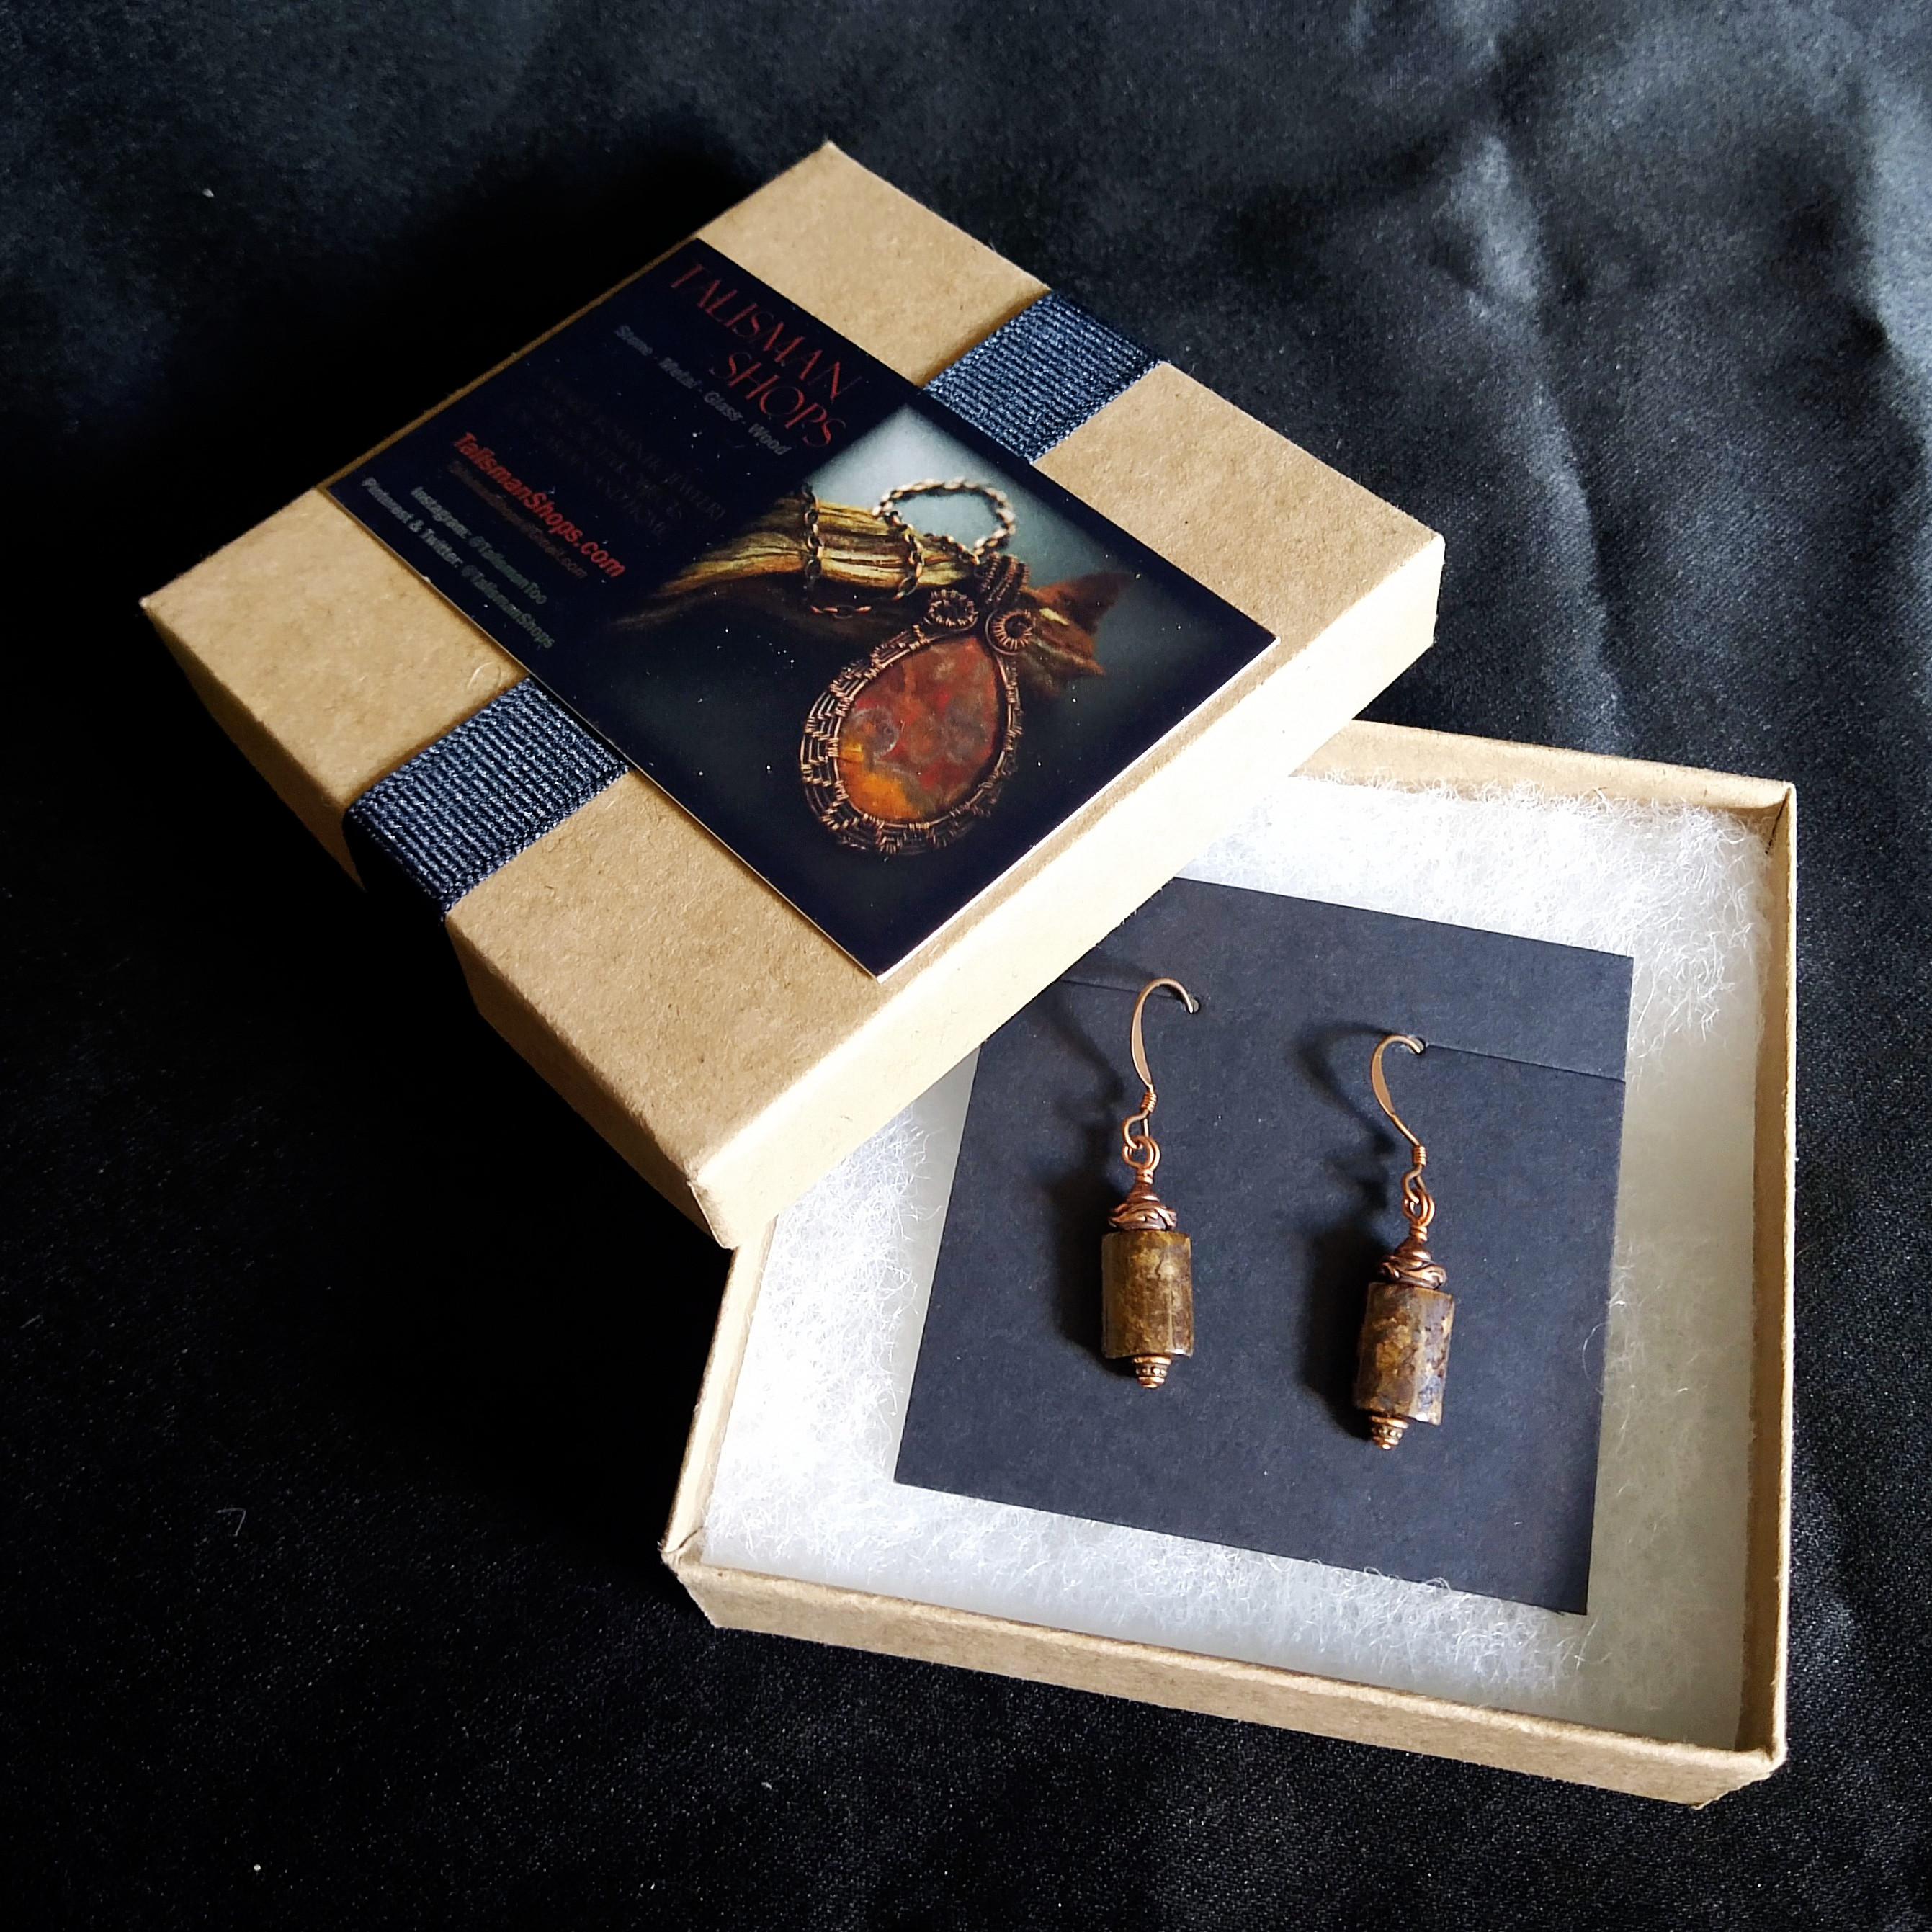
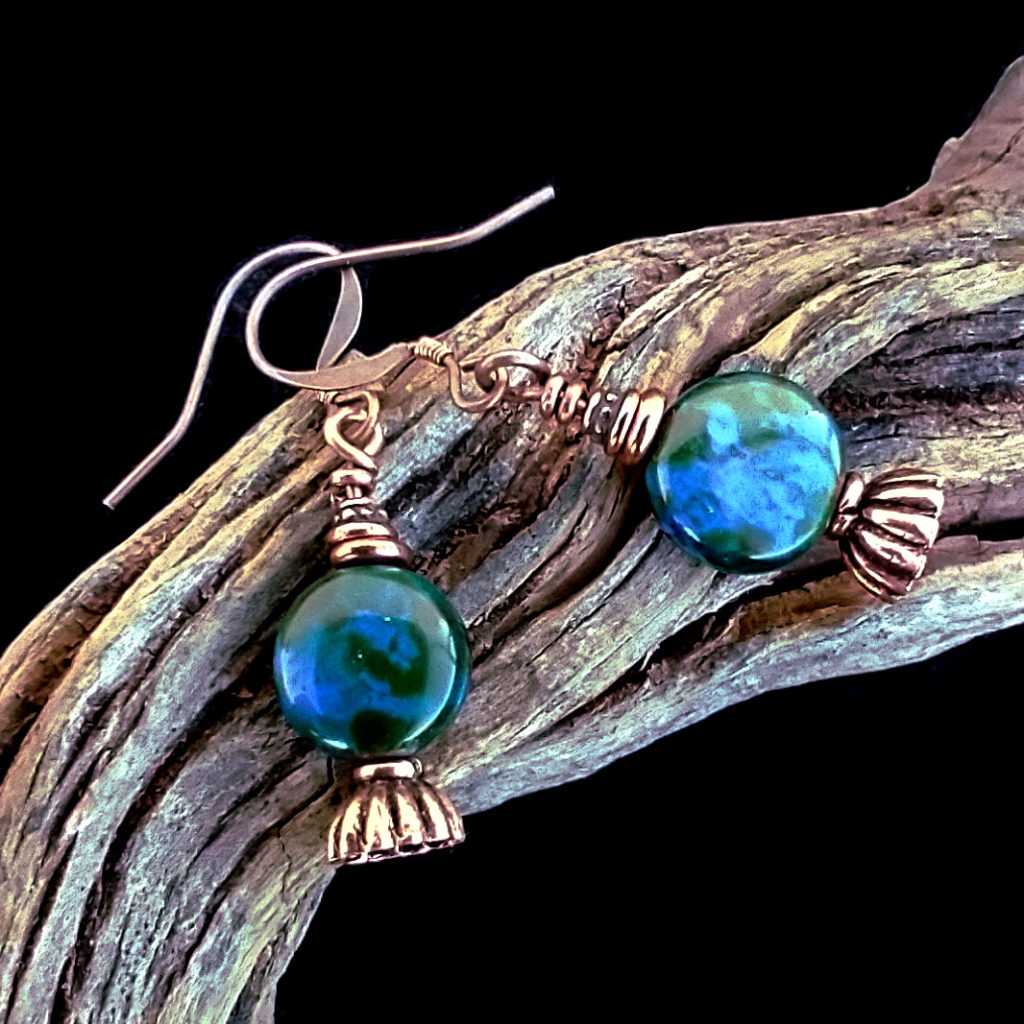
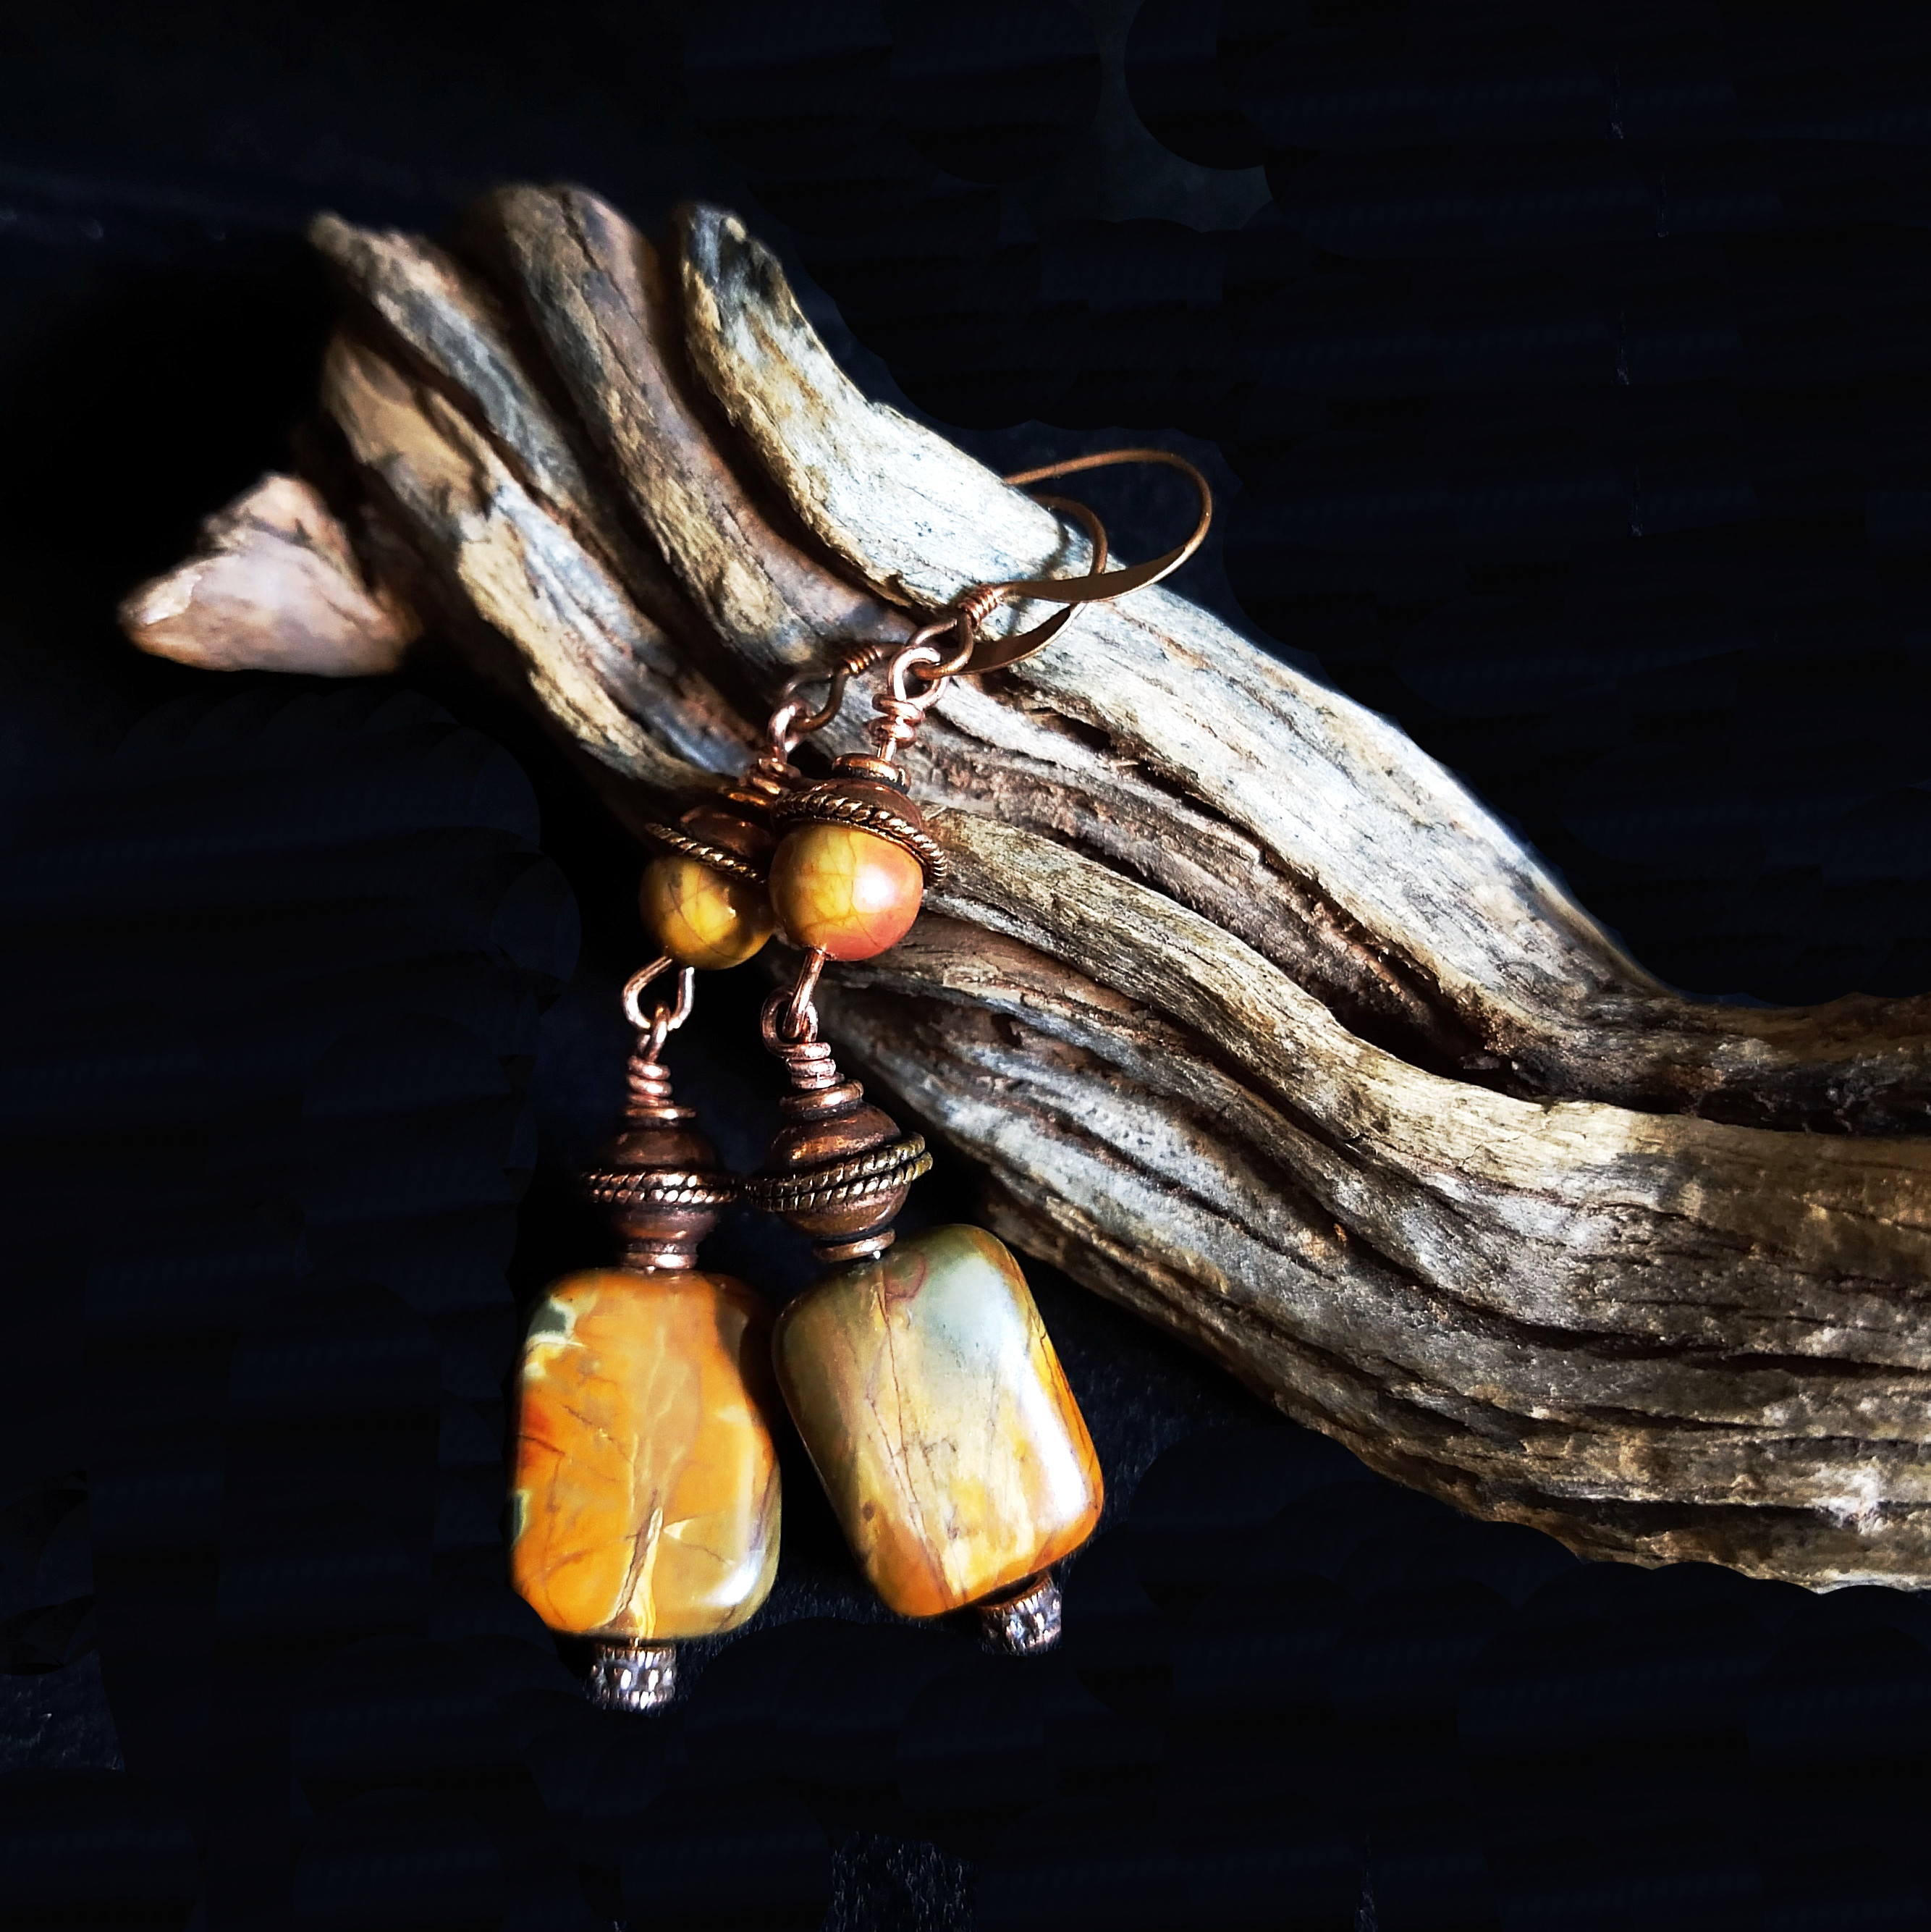
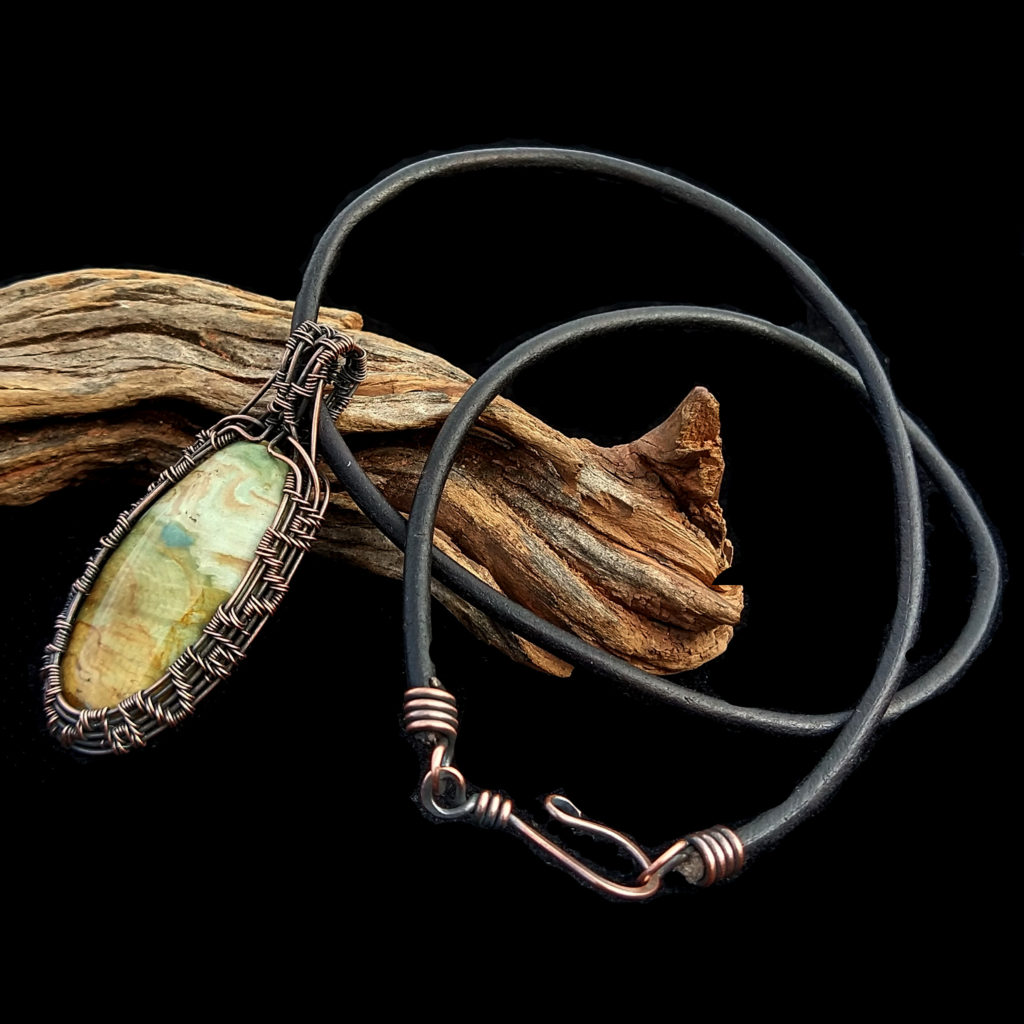
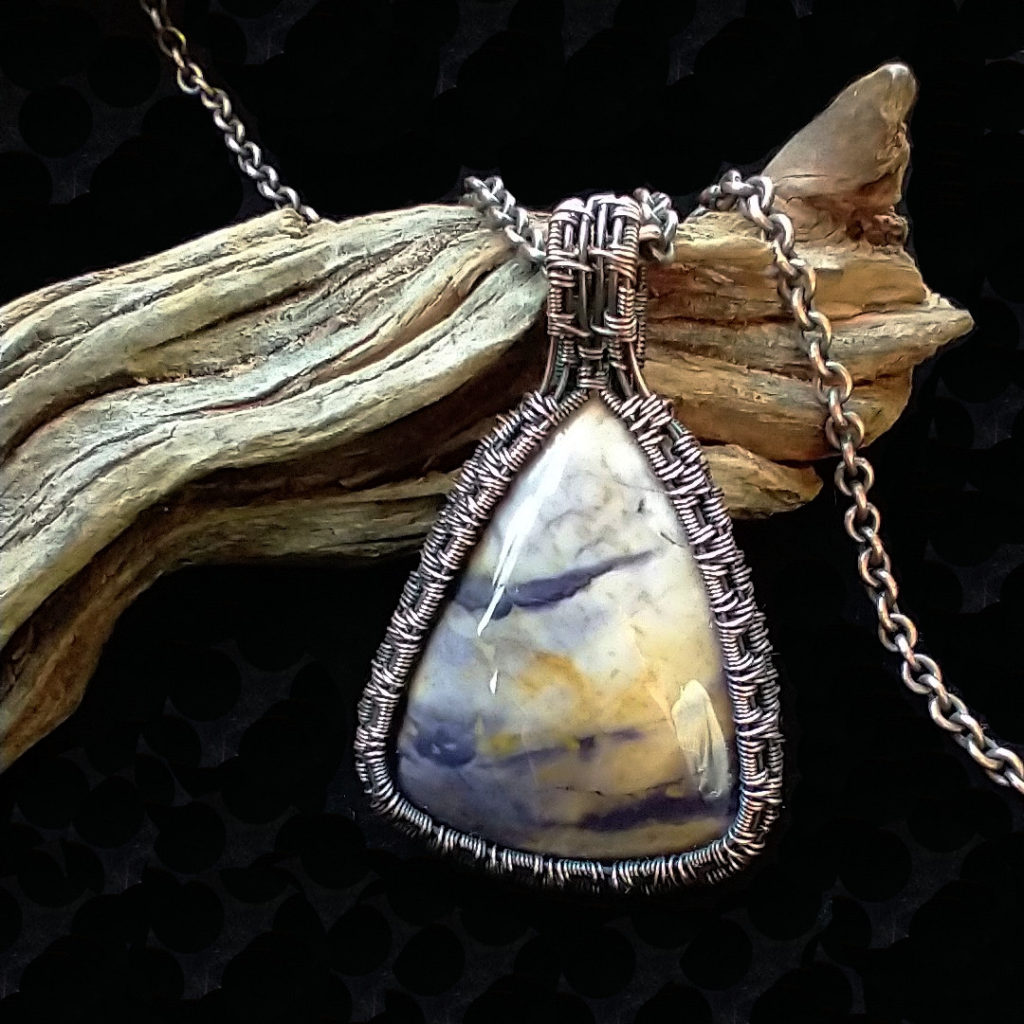
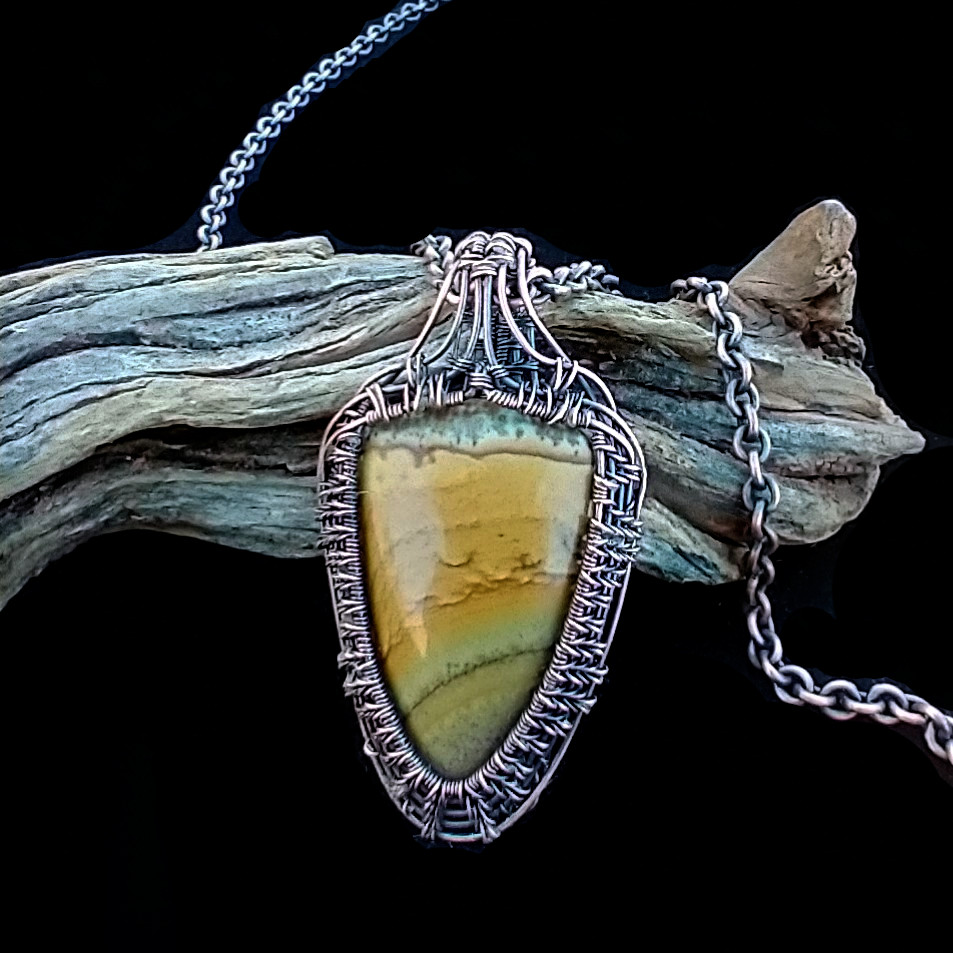
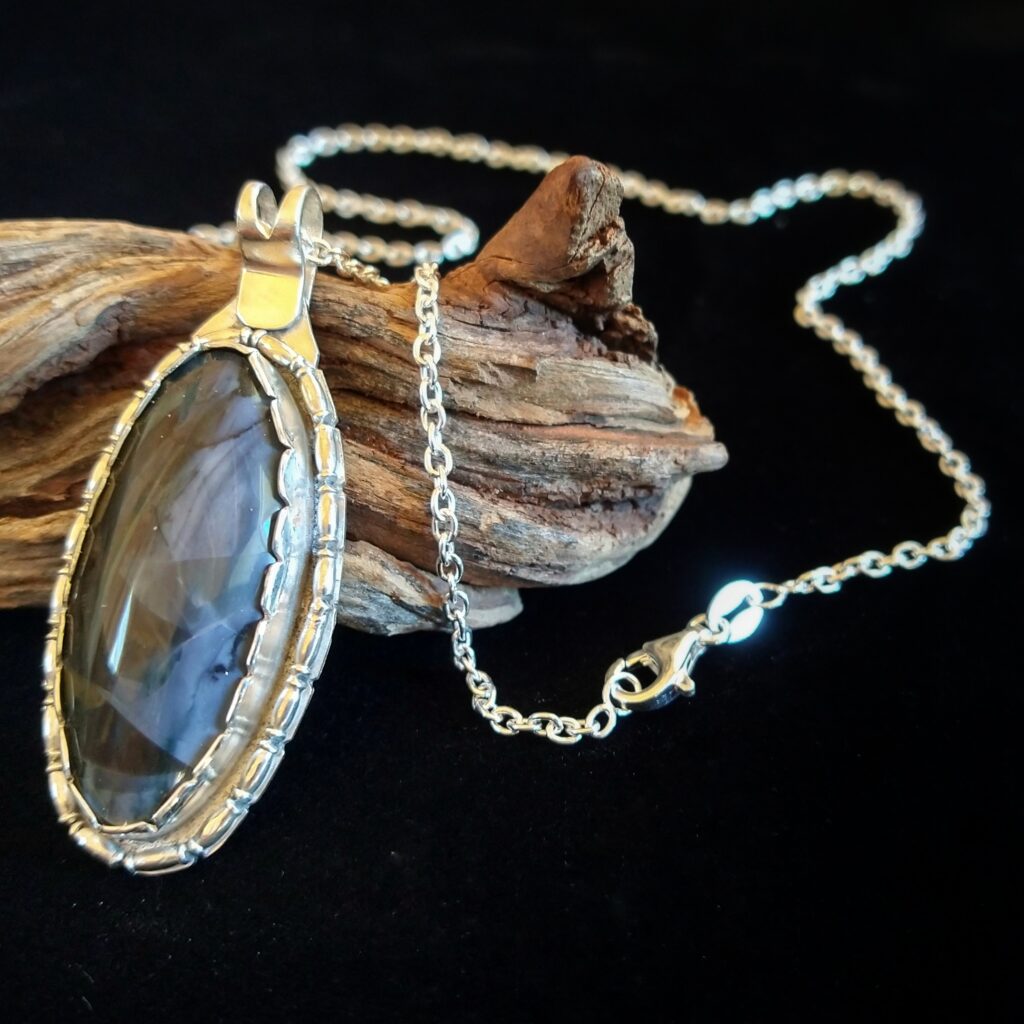
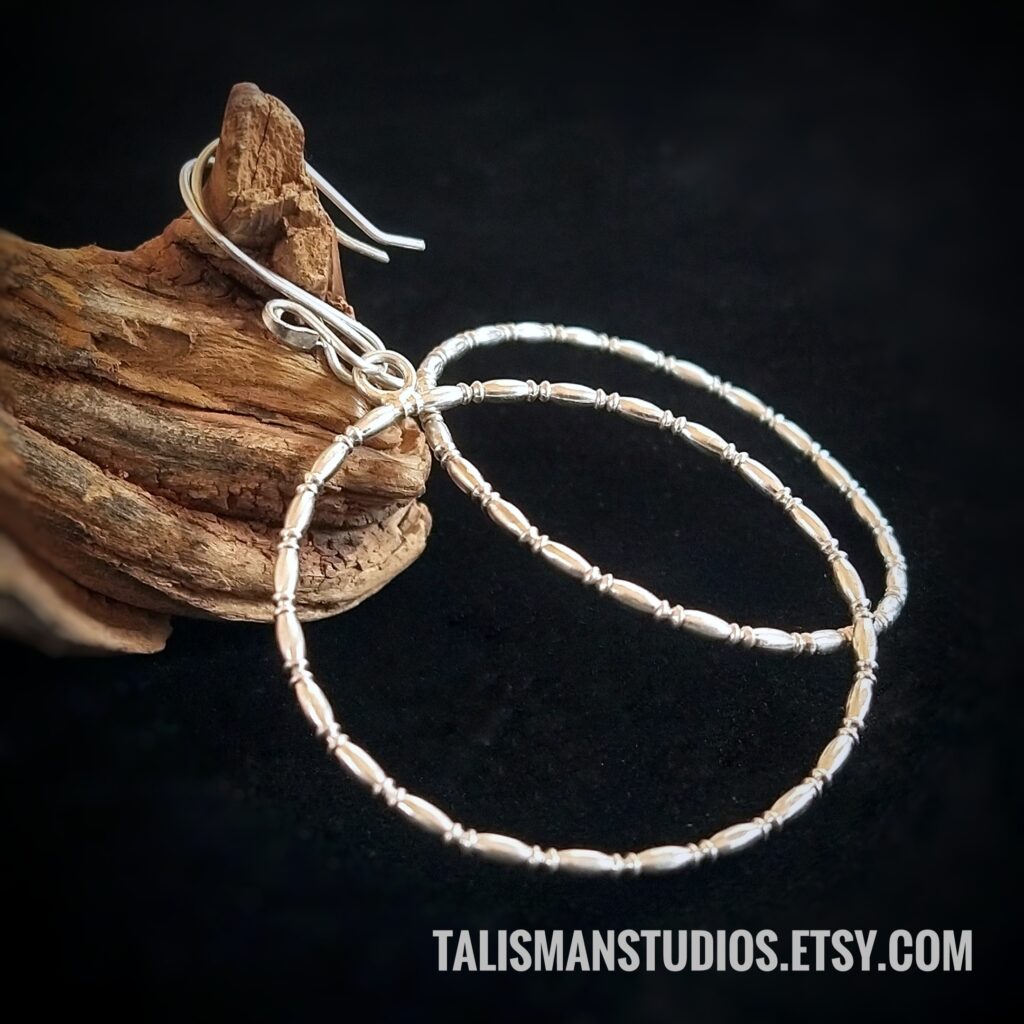
Along with getting my land cleared, my shed base ready(the delivery guy didn’t have to level the building AT ALL – I was so proud of myself!), my shed delivered, and the planting, I did do quite a bit of silversmithing and rock cutting. Here’s a few of the things I made. You can click on the pictures to see them listed in my Etsy shop.


I have another few weeks before I pack the van up and hit the road. I’m staying until November 20th, which ought to be a bit trying on my “I hate the cold” perspective. Middle of the days should be okay, but it’s already getting below freezing at night. Which is fine, for a night or two. But I know it’s just going to keep on going, and getting out of bed in the morning requires real commitment! But, my family in Wisconsin will have a Thanksgiving celebration, and so instead of heading toward the warmth, I’ll be going further into the cold. Brrrr!


